Autumn Tidy-Up: Your October Flower Bed Guide
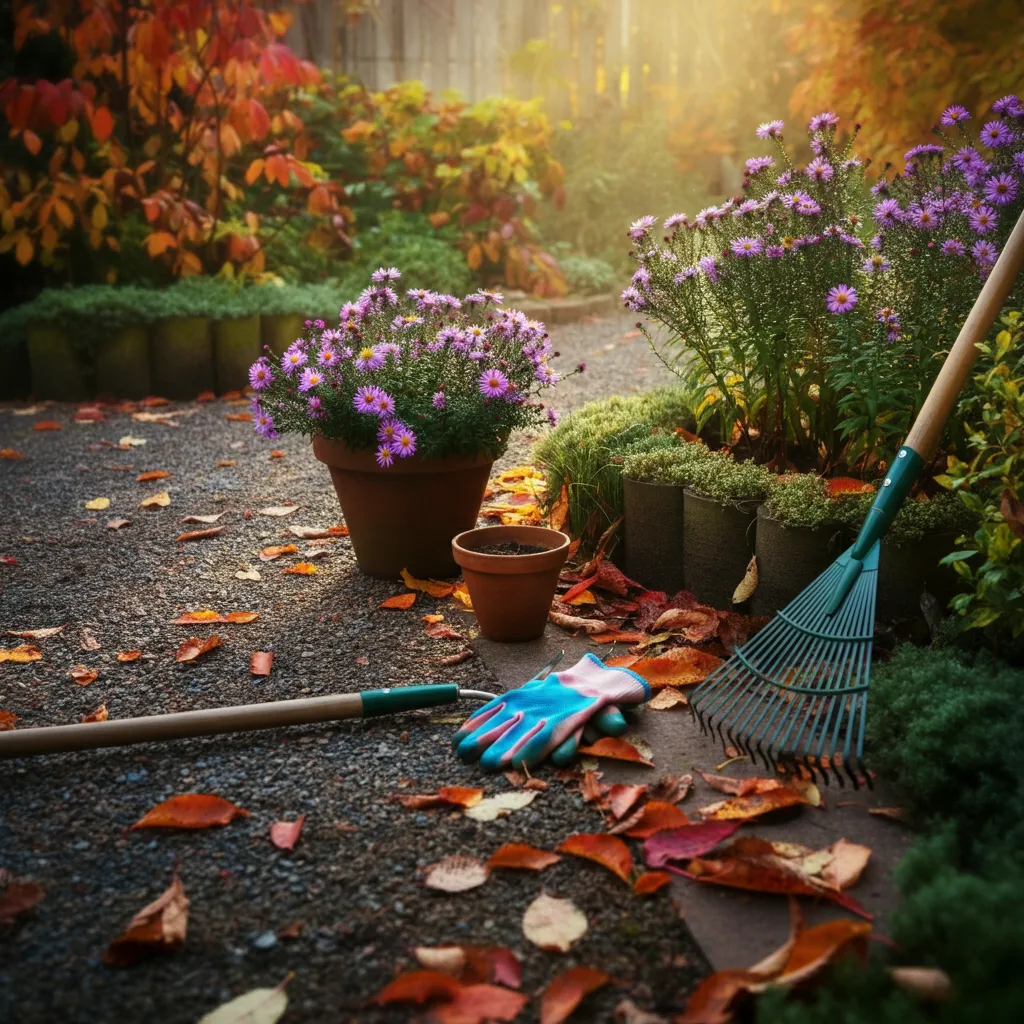
October gardens hold a special magic. Crisp morning air carries the earthy scent of fallen leaves, whilst late-flowering asters paint purple brushstrokes against golden foliage. Yet amongst this autumn beauty, spent summer annuals hang their heads like tired dancers after a long performance. Those once-vibrant marigolds now droop with brown, papery flowers. The petunias that blazed through summer heat have become straggly shadows of their former glory.
This October transformation signals one of gardening's most satisfying seasonal tasks: removing spent annuals from your flower beds. Far from being mere housekeeping, this essential job sets the stage for next year's garden success. When you clear away these fading performers, you're not just tidying up—you're preventing pest problems, stopping disease cycles, and creating the perfect canvas for spring magic.
Many gardeners underestimate this simple October ritual, but seasoned growers know better. Those wilted annuals might look harmless, but they're secretly harboring next year's troubles. Left unchecked, they become cozy winter hideouts for slugs, aphids, and fungal spores that will resurface to plague your garden come spring.
This guide will walk you through everything you need to know about removing spent annuals effectively. You'll discover why this job matters so much, learn the step-by-step process that makes it effortless, and explore brilliant ways to prepare your freshly cleared beds for winter—and the spectacular spring display that follows.
Why Bother with Fading Flowers? The Benefits of a Clean Sweep
Your garden's autumn cleanup isn't about perfection—it's about prevention. Those drooping annuals that seem so harmless are actually ticking time bombs for next year's growing season.
Disease Prevention Starts Now
Dead and dying plant material creates the perfect breeding ground for fungal diseases. Powdery mildew, botrytis, and rust spores can overwinter in plant debris, ready to attack your fresh spring plantings. By removing spent annuals now, you break this cycle before it begins. A single infected marigold left to decompose can spread disease to an entire bed the following year.
Pest Control Through Prevention
Slugs and snails view your dying annuals as five-star winter accommodation. They'll nestle into the decaying foliage, laying eggs and multiplying whilst you're not watching. Come spring, you'll face an army of plant-munching molluscs ready to demolish your new seedlings. Remove their winter hotels now, and you'll dramatically reduce next year's pest pressure.
Taking Control of Self-Seeding
Many annuals are prolific self-seeders. Whilst this might sound appealing, the reality often disappoints. Self-sown plants rarely appear where you want them, and they frequently revert to inferior forms. That carefully planned colour scheme gets scattered when random seedlings pop up throughout your borders. By removing spent annuals before they set seed, you maintain complete control over your garden design.
The Aesthetic Advantage
Gardens don't hibernate—they simply change costume. A bed filled with brown, soggy annual remains looks neglected and depressing throughout the winter months. Clear these away, and suddenly your garden bones emerge: the elegant structure of shrubs, the architectural beauty of perennials, the promise of emerging spring bulbs. Your winter garden transforms from dreary to dramatic.
Your Step-by-Step Guide to Removing Spent Annuals

The key to successful annual removal lies in timing and technique. Follow this straightforward process, and you'll have your beds cleared efficiently without damaging surrounding plants.
Step 1: Choose the Perfect Day
Timing makes all the difference. Pick a dry day when soil isn't waterlogged from recent rain. Working with soggy soil compacts it, damages its structure, and makes the job unnecessarily difficult. The ground should feel firm underfoot, not squelchy. A crisp October morning after a few dry days provides ideal conditions.
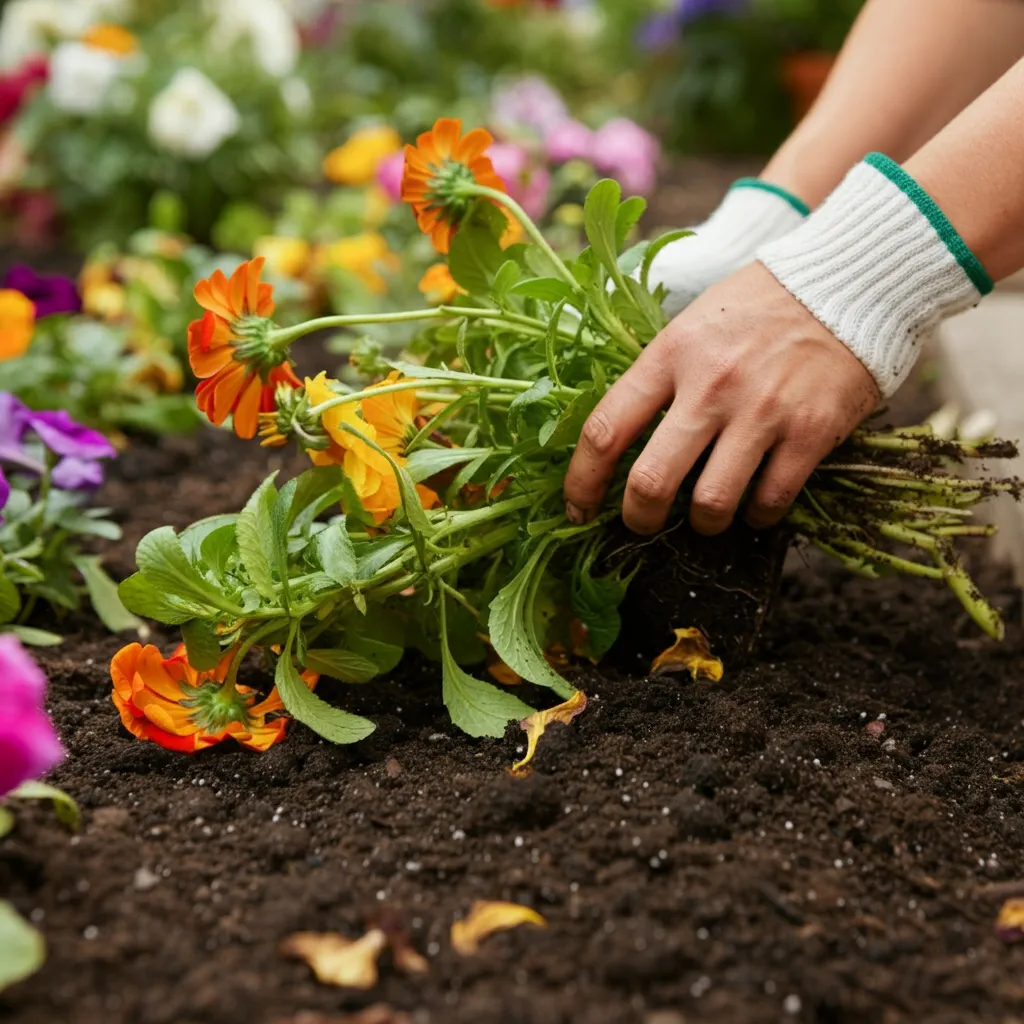
Step 2: The Great Pull-Up
Most spent annuals lift easily with a gentle but firm pull. Grasp the main stem near soil level and pull steadily upward. The entire root system should come away cleanly. For larger plants like sunflowers or tall cosmos, you might need to rock them slightly to loosen stubborn roots.
Some annuals have developed extensive root systems and won't budge with pulling alone. This is where your hand fork becomes invaluable. Work the fork around the plant's base, loosening the soil in a circle roughly six inches from the stem. Once loosened, the plant should lift easily.
Step 3: Shake It Off
This step saves your precious topsoil. Before composting or binning your pulled annuals, shake the root ball vigorously over the bed. All that good soil clinging to the roots belongs in your flower bed, not your compost bin. Give each plant a thorough shake until only minimal soil remains on the roots.
Step 4: The 'Chop and Drop' Alternative
For completely healthy plants showing no signs of disease, consider the 'chop and drop' method. Cut the stem at soil level using sharp secateurs, leaving the root system in the ground. These roots will decompose over winter, adding organic matter to your soil and improving its structure. This method works particularly well with plants that have fibrous root systems rather than tap roots.
Only use this technique with disease-free plants. Any signs of fungal infection, pest damage, or unusual discoloration mean the whole plant should be removed and binned.
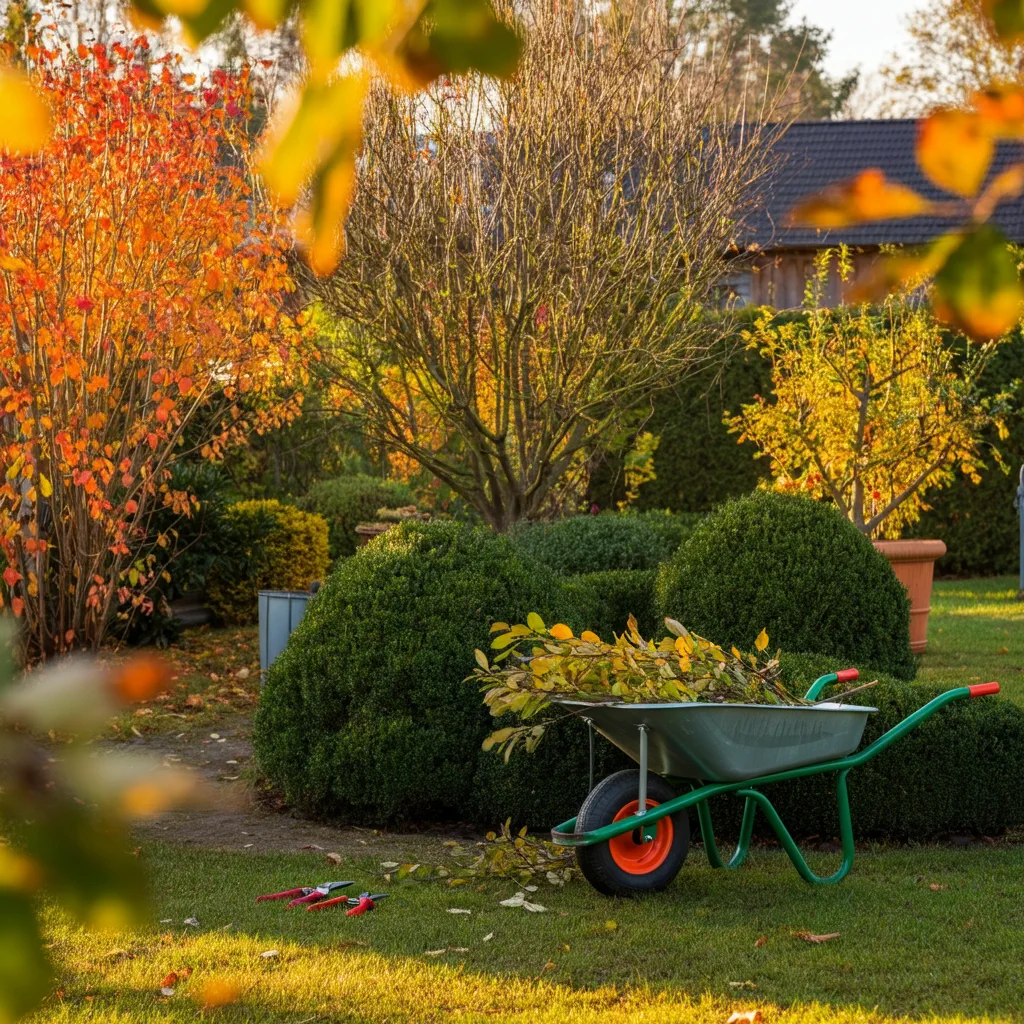
Step 5: Sorting the Debris
Your clearance operation creates two types of plant material, and they need different destinations. Healthy, disease-free annuals make excellent compost material. Their soft tissues break down quickly, adding valuable nutrients to your compost heap.
However, any plants showing disease symptoms must be binned or burned—never composted. This includes plants with powdery mildew's telltale white coating, rust's orange spots, or any unusual mould growth. Composting diseased material simply recycles the problem back into your garden.
Now What? Prepping Your Beds for Winter Sleep
With your spent annuals cleared away, you're left with beautifully clean, empty beds. This blank canvas presents the perfect opportunity to set your garden up for spectacular spring success.
Feed the Soil While It Rests
October soil improvement pays dividends all year round. Spread a generous layer of well-rotted manure or garden compost across your cleared beds—aim for roughly two inches thick. This organic matter serves double duty: it protects the soil surface from winter weather whilst slowly releasing nutrients as it decomposes.
Earthworms work tirelessly through winter, pulling this surface organic matter deep into the soil profile. By spring, your beds will have improved structure, better drainage, and enhanced fertility—all whilst you weren't even watching.
Plant Spring's Promise
Freshly cleared beds cry out for spring bulbs. October is prime planting time for tulips, daffodils, crocuses, and alliums. These early bloomers will push through your winter mulch come February and March, creating breathtaking displays exactly when your gardening spirits need lifting most.
Plant bulbs at roughly three times their own depth. For most tulips and daffodils, this means 6-8 inches deep. Space them naturally—rigid rows look artificial. Instead, scatter handfuls of bulbs across the bed and plant them where they fall for a naturalistic effect.
Consider layering different bulb types for extended flowering. Plant larger bulbs like tulips deeper, with smaller crocuses and grape hyacinths above them. This creates a succession of blooms from February through May.
Consider Green Manure Magic
For larger beds or vegetable plots, green manures offer exceptional winter soil protection. Sow crimson clover, winter tares, or phacelia across cleared ground. These plants grow through autumn and winter, protecting soil from erosion whilst fixing nitrogen and adding organic matter when dug in come spring.
Green manures work particularly well in areas where you're planning major replanting projects. They keep the ground productive whilst you plan next year's garden design.
October's Garden Gift: Setting Next Year's Stage

Removing spent annuals this October isn't just seasonal housekeeping—it's an investment in next year's garden success. This simple task prevents disease cycles, controls pest populations, and creates the perfect foundation for winter soil improvement and spring bulb displays.
The satisfaction of putting your garden properly to bed cannot be overstated. Walking through clean, well-mulched beds on crisp winter mornings brings its own quiet pleasure. You'll know that beneath that protective layer of compost, soil organisms are working to create the perfect growing medium for next year's plants.
Your October efforts will be rewarded tenfold when spring arrives. Disease-free beds, fertile soil, and spectacular bulb displays will remind you that gardening's best rewards often come from the simplest seasonal tasks.
Grab your gloves and hand fork this weekend. Your garden deserves this essential care, and you'll thank yourself when next year's growing season explodes into life. The magic of spring begins with October's thoughtful preparation.


Community Feedback