How to Sow Chillies in January: A Complete Guide for UK Growers
It’s January. The holidays are over, the days are short, and the British weather is doing its best to keep us indoors. But for chilli enthusiasts, this isn't a time to hibernate—it’s time to germinate. While the frost settles outside, January offers the perfect opportunity to get a head start on the chilli growing season, especially if you are eyeing up those notoriously slow-growing super-hot varieties.
Starting your seeds now might seem eager, but in the UK climate, every extra day of growth counts. By sowing early, you give your plants the long growing window they need to mature, fruit, and ripen before the autumn cold snaps return. Whether you’re a seasoned "ChilliChump" or a first-time grower looking to spice up your windowsill, getting your hands in the soil now is the antidote to the winter blues.
In this guide, we’ll walk you through exactly why January is a crucial month for chilli growers and the step-by-step process to ensure your seedlings thrive despite the gloom outside.
Video from ChilliChump Read More
- Stewart Variable Heat Prop: https://geni.us/varprop
- Cheaper Stewart Prop: https://geni.us/chpprop
- Heat Mat: https://geni.us/heatmat20w
- Squeeze bottle: https://geni.us/labbottle
- Plastic Shot glasses: https://geni.us/seedcovers
 / chillichump
ChilliChump Hot Sauce Shop https://chillichump.com/shop
This episode of "From Seed to Sauce" focuses on planting chilli pepper seeds. The presenter, ChilliChump, explains the importance of scarification and how to replicate the natural process using tea or hydrogen peroxide. They then demonstrate how to prepare the soil and plant the seeds, emphasizing the importance of maintaining moisture and warmth.
Why Sow in January?
You might be wondering if it's simply too cold to start gardening. In the garden, yes—but indoors, it's a different story.
The Need for Speed (and Heat)
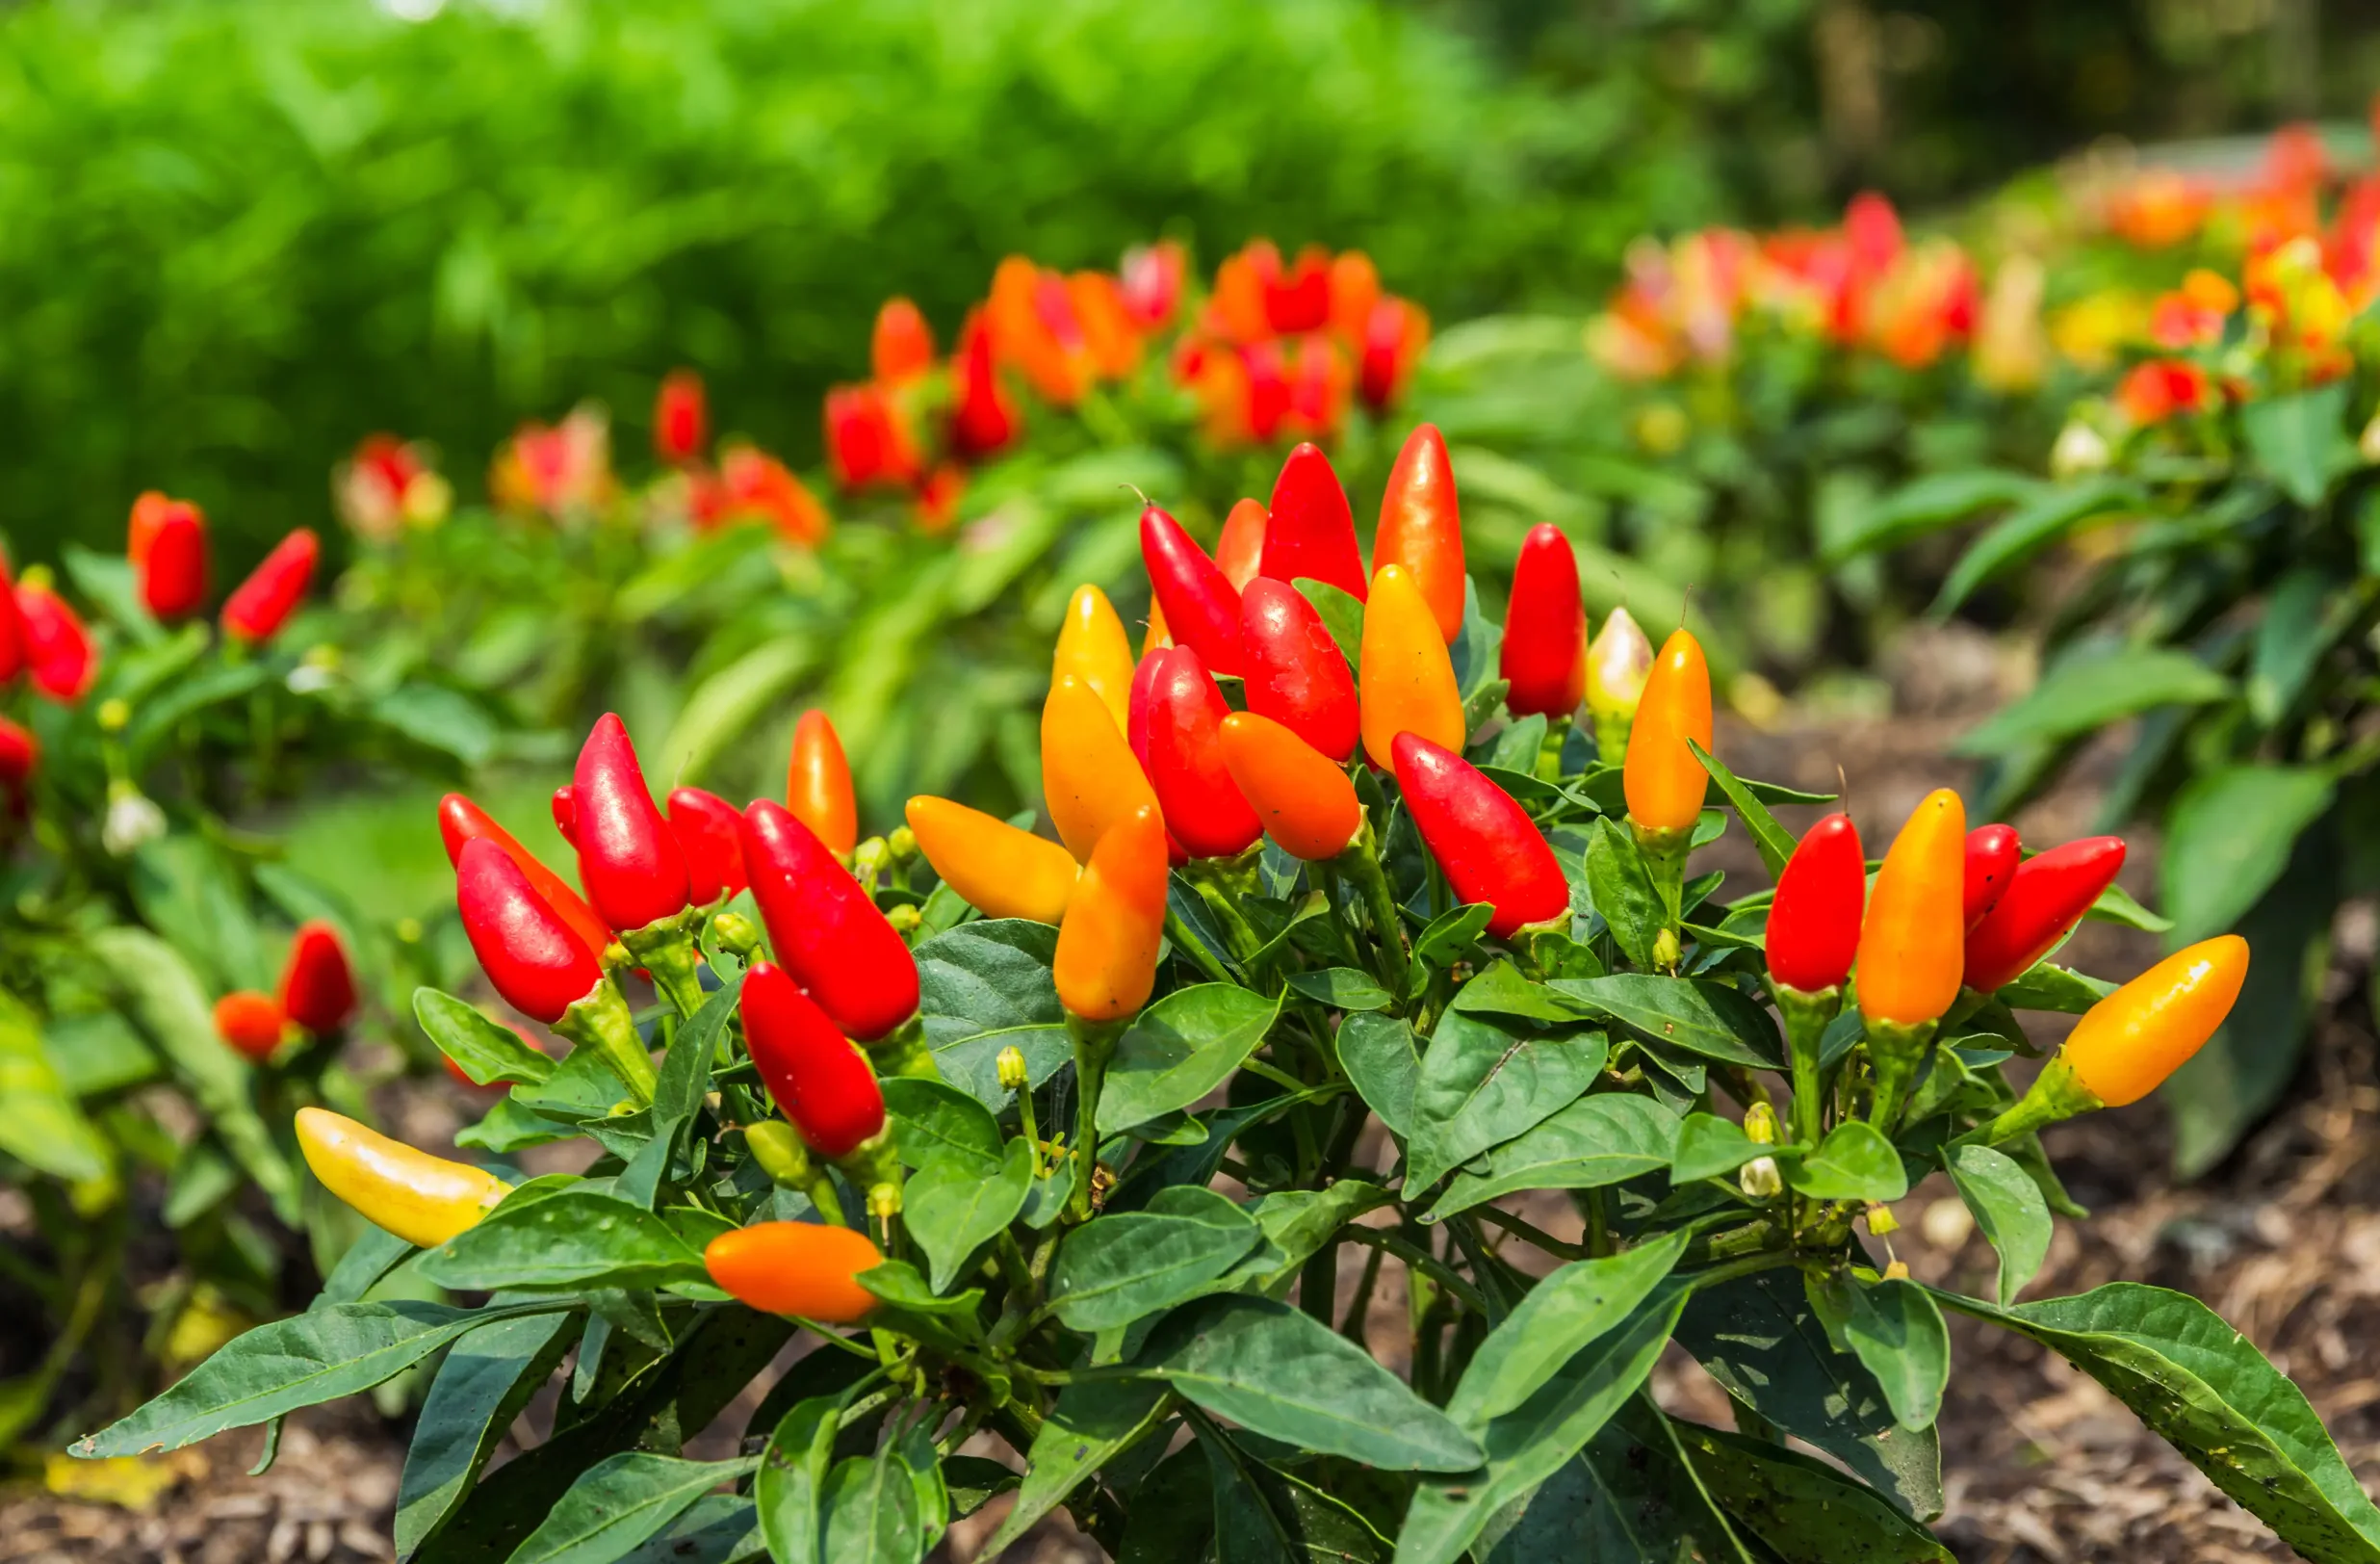
Many of the most exciting chilli varieties—particularly Capsicum chinense types like Habaneros, Scotch Bonnets, and the fearsome Carolina Reaper—have long growing seasons. Some can take up to 120 days or more just to reach maturity from potting on, let alone ripening fruit. By starting in January, you are buying yourself time.
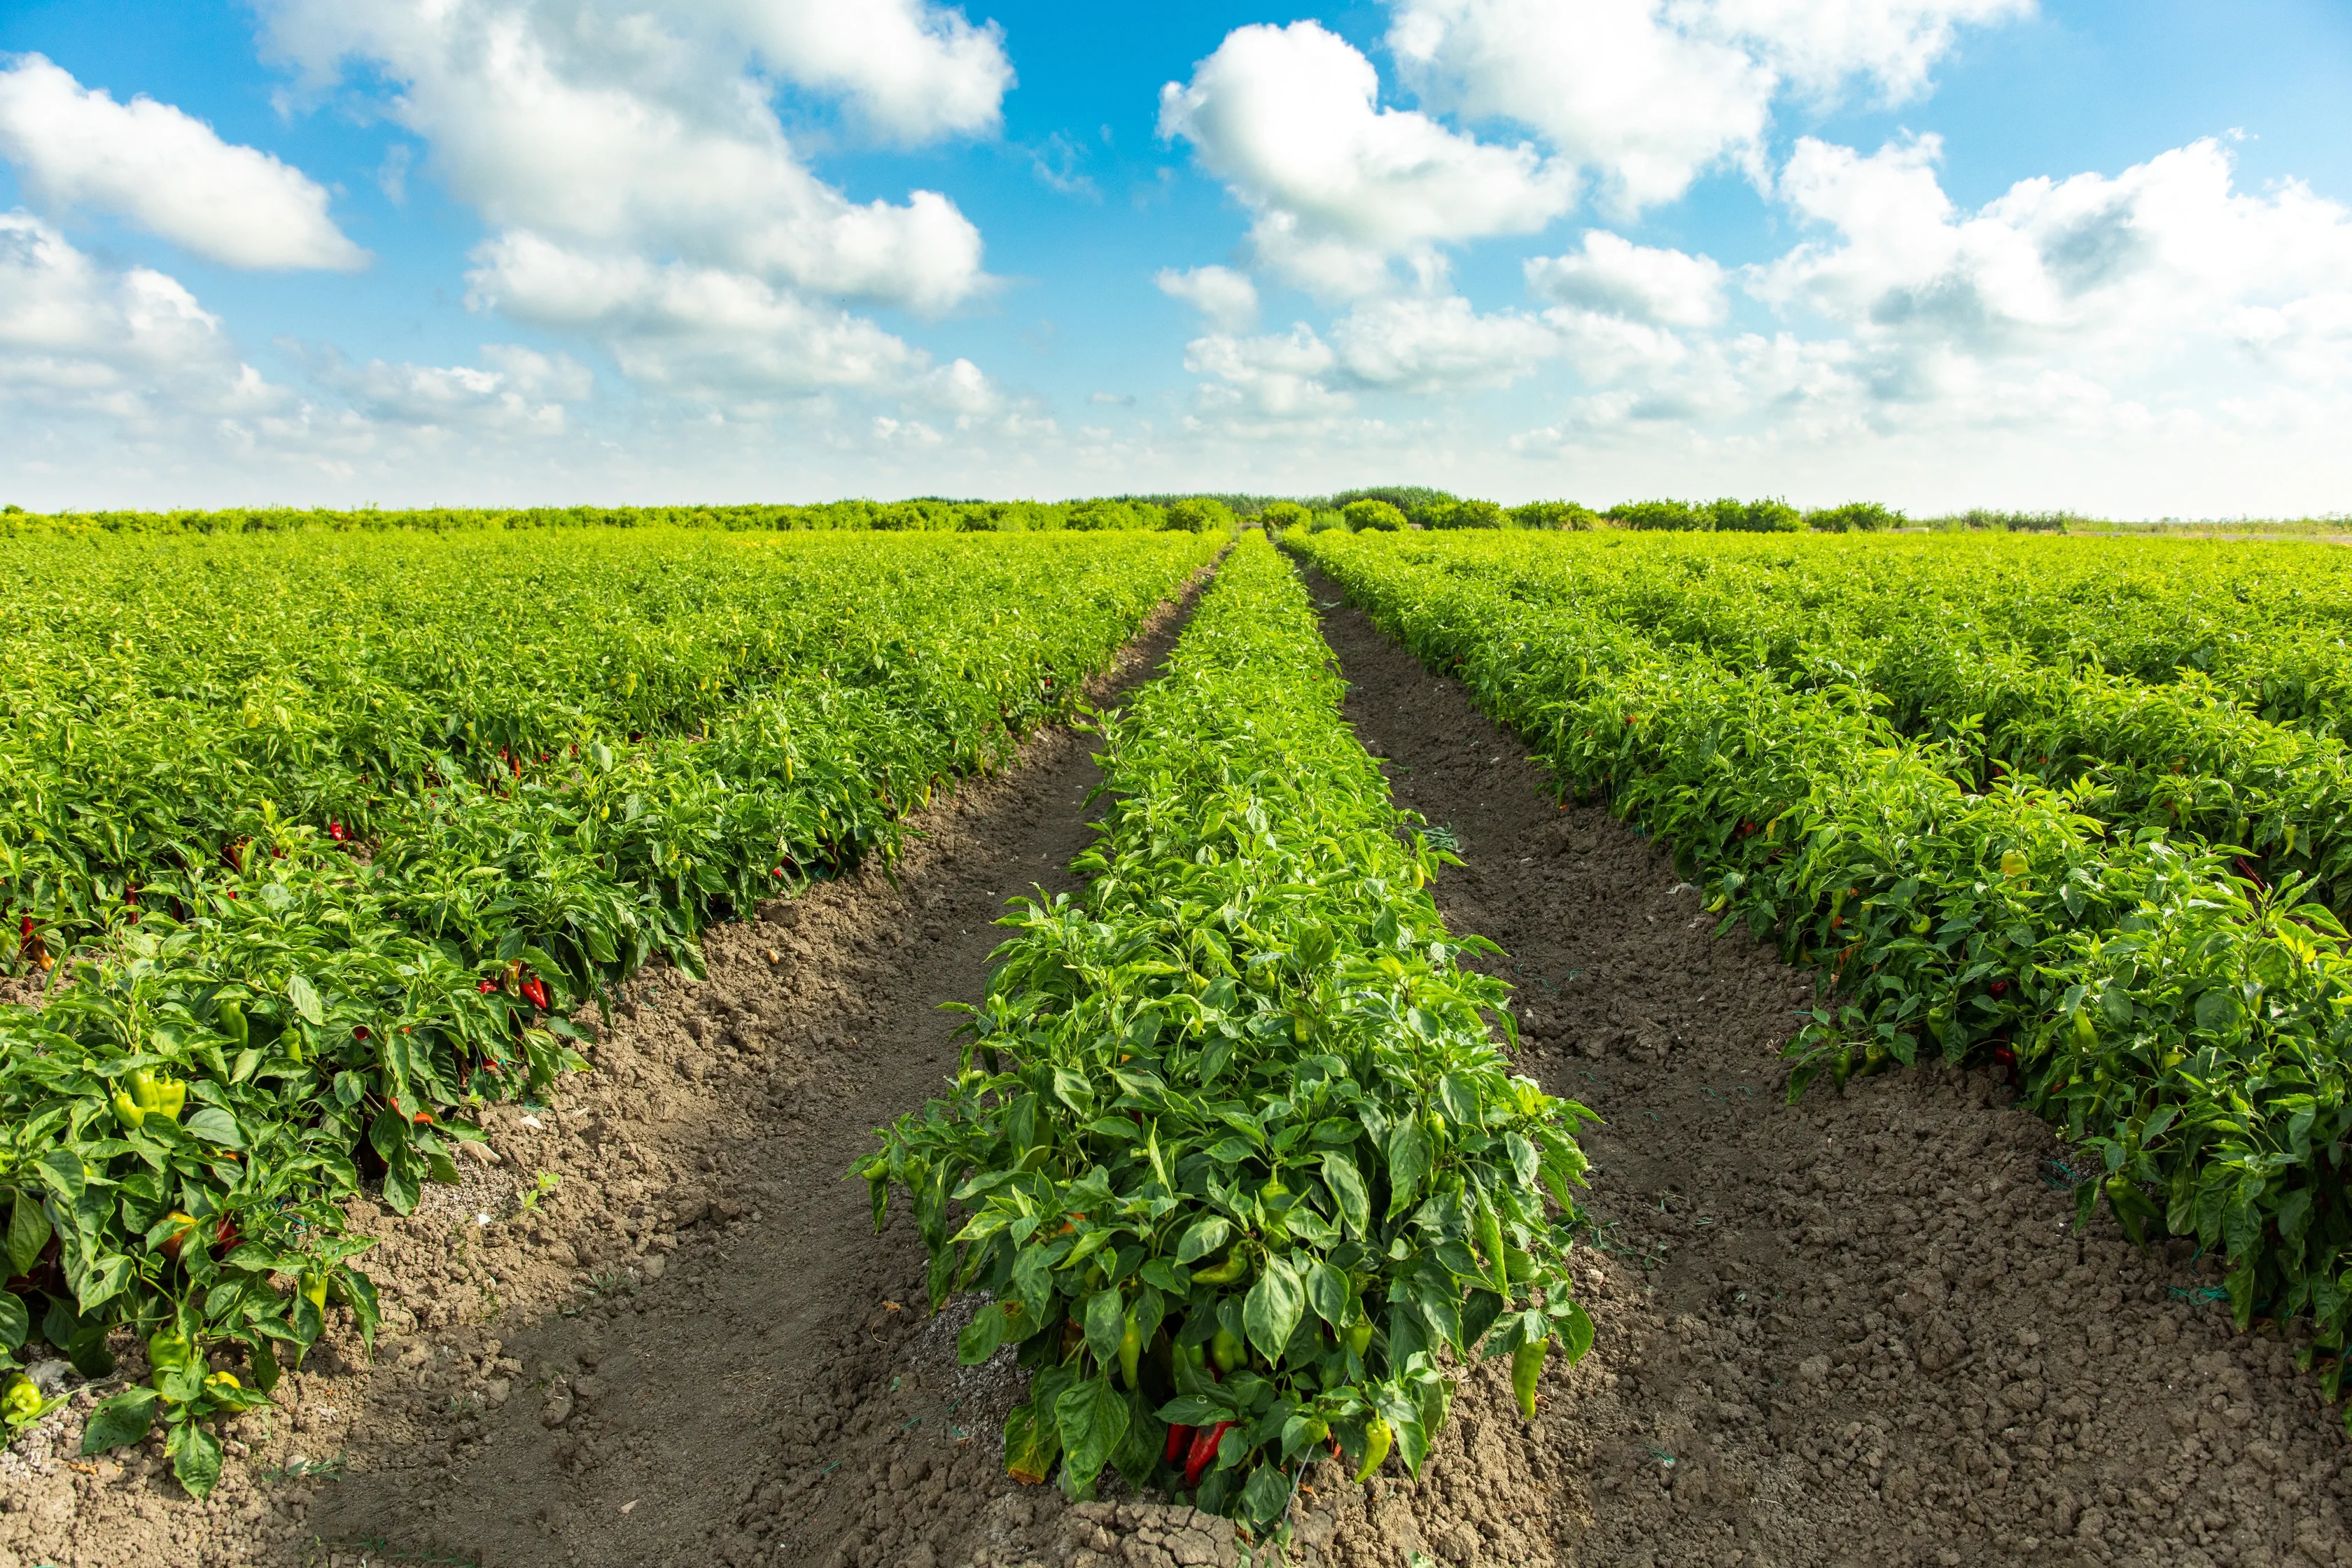
Beating the British Summer
Let’s be honest: the UK summer can be unpredictable. We don't always get the long, scorching heatwaves that chillies love. By sowing now, your plants will be established, robust, and ready to flower as soon as the natural light and warmth arrive in late spring. This maximizes your chances of a bumper harvest before October rolls around.
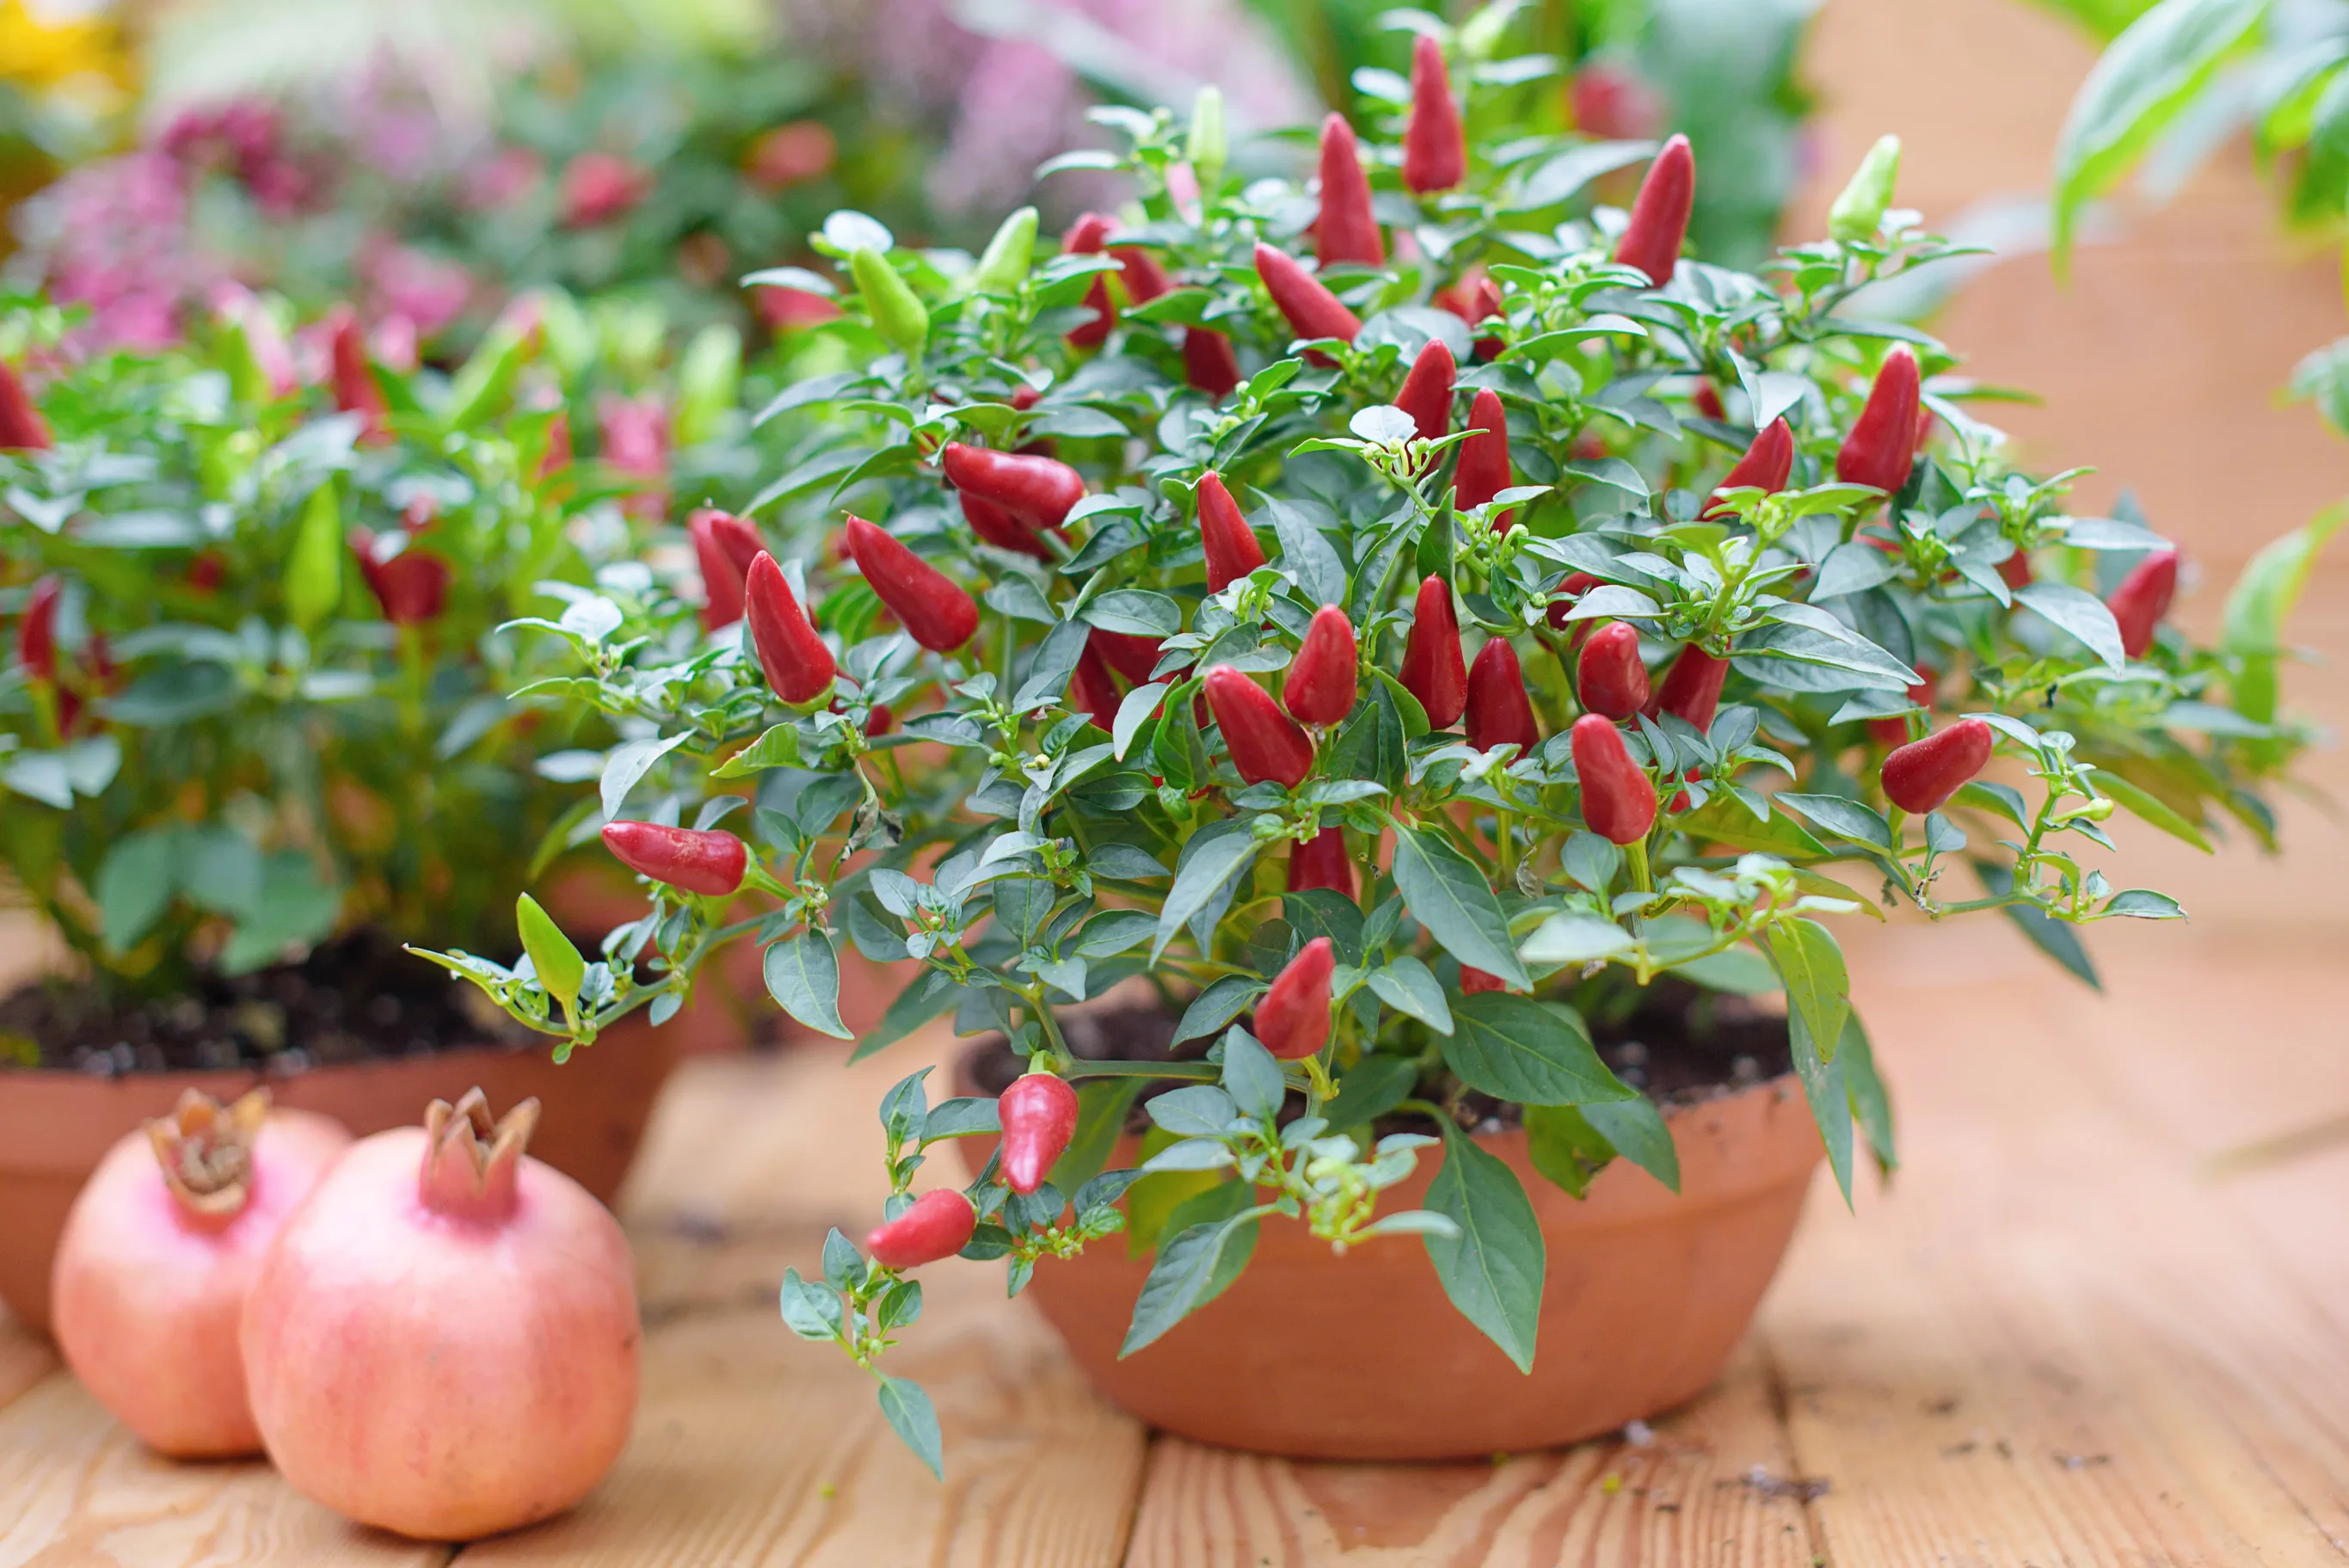
Choosing Your January Varieties
Not all chillies are created equal when it comes to sowing times. January is specifically the month for the "long-haulers."
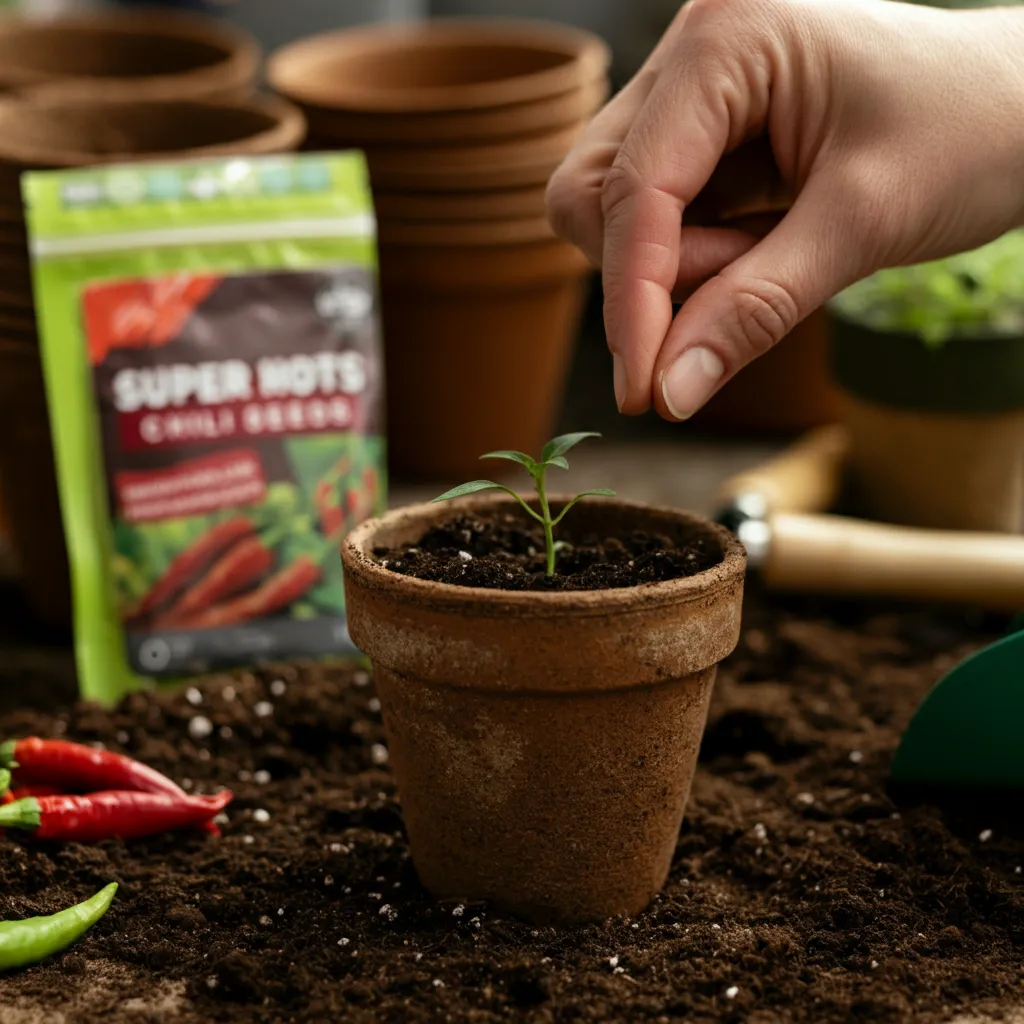
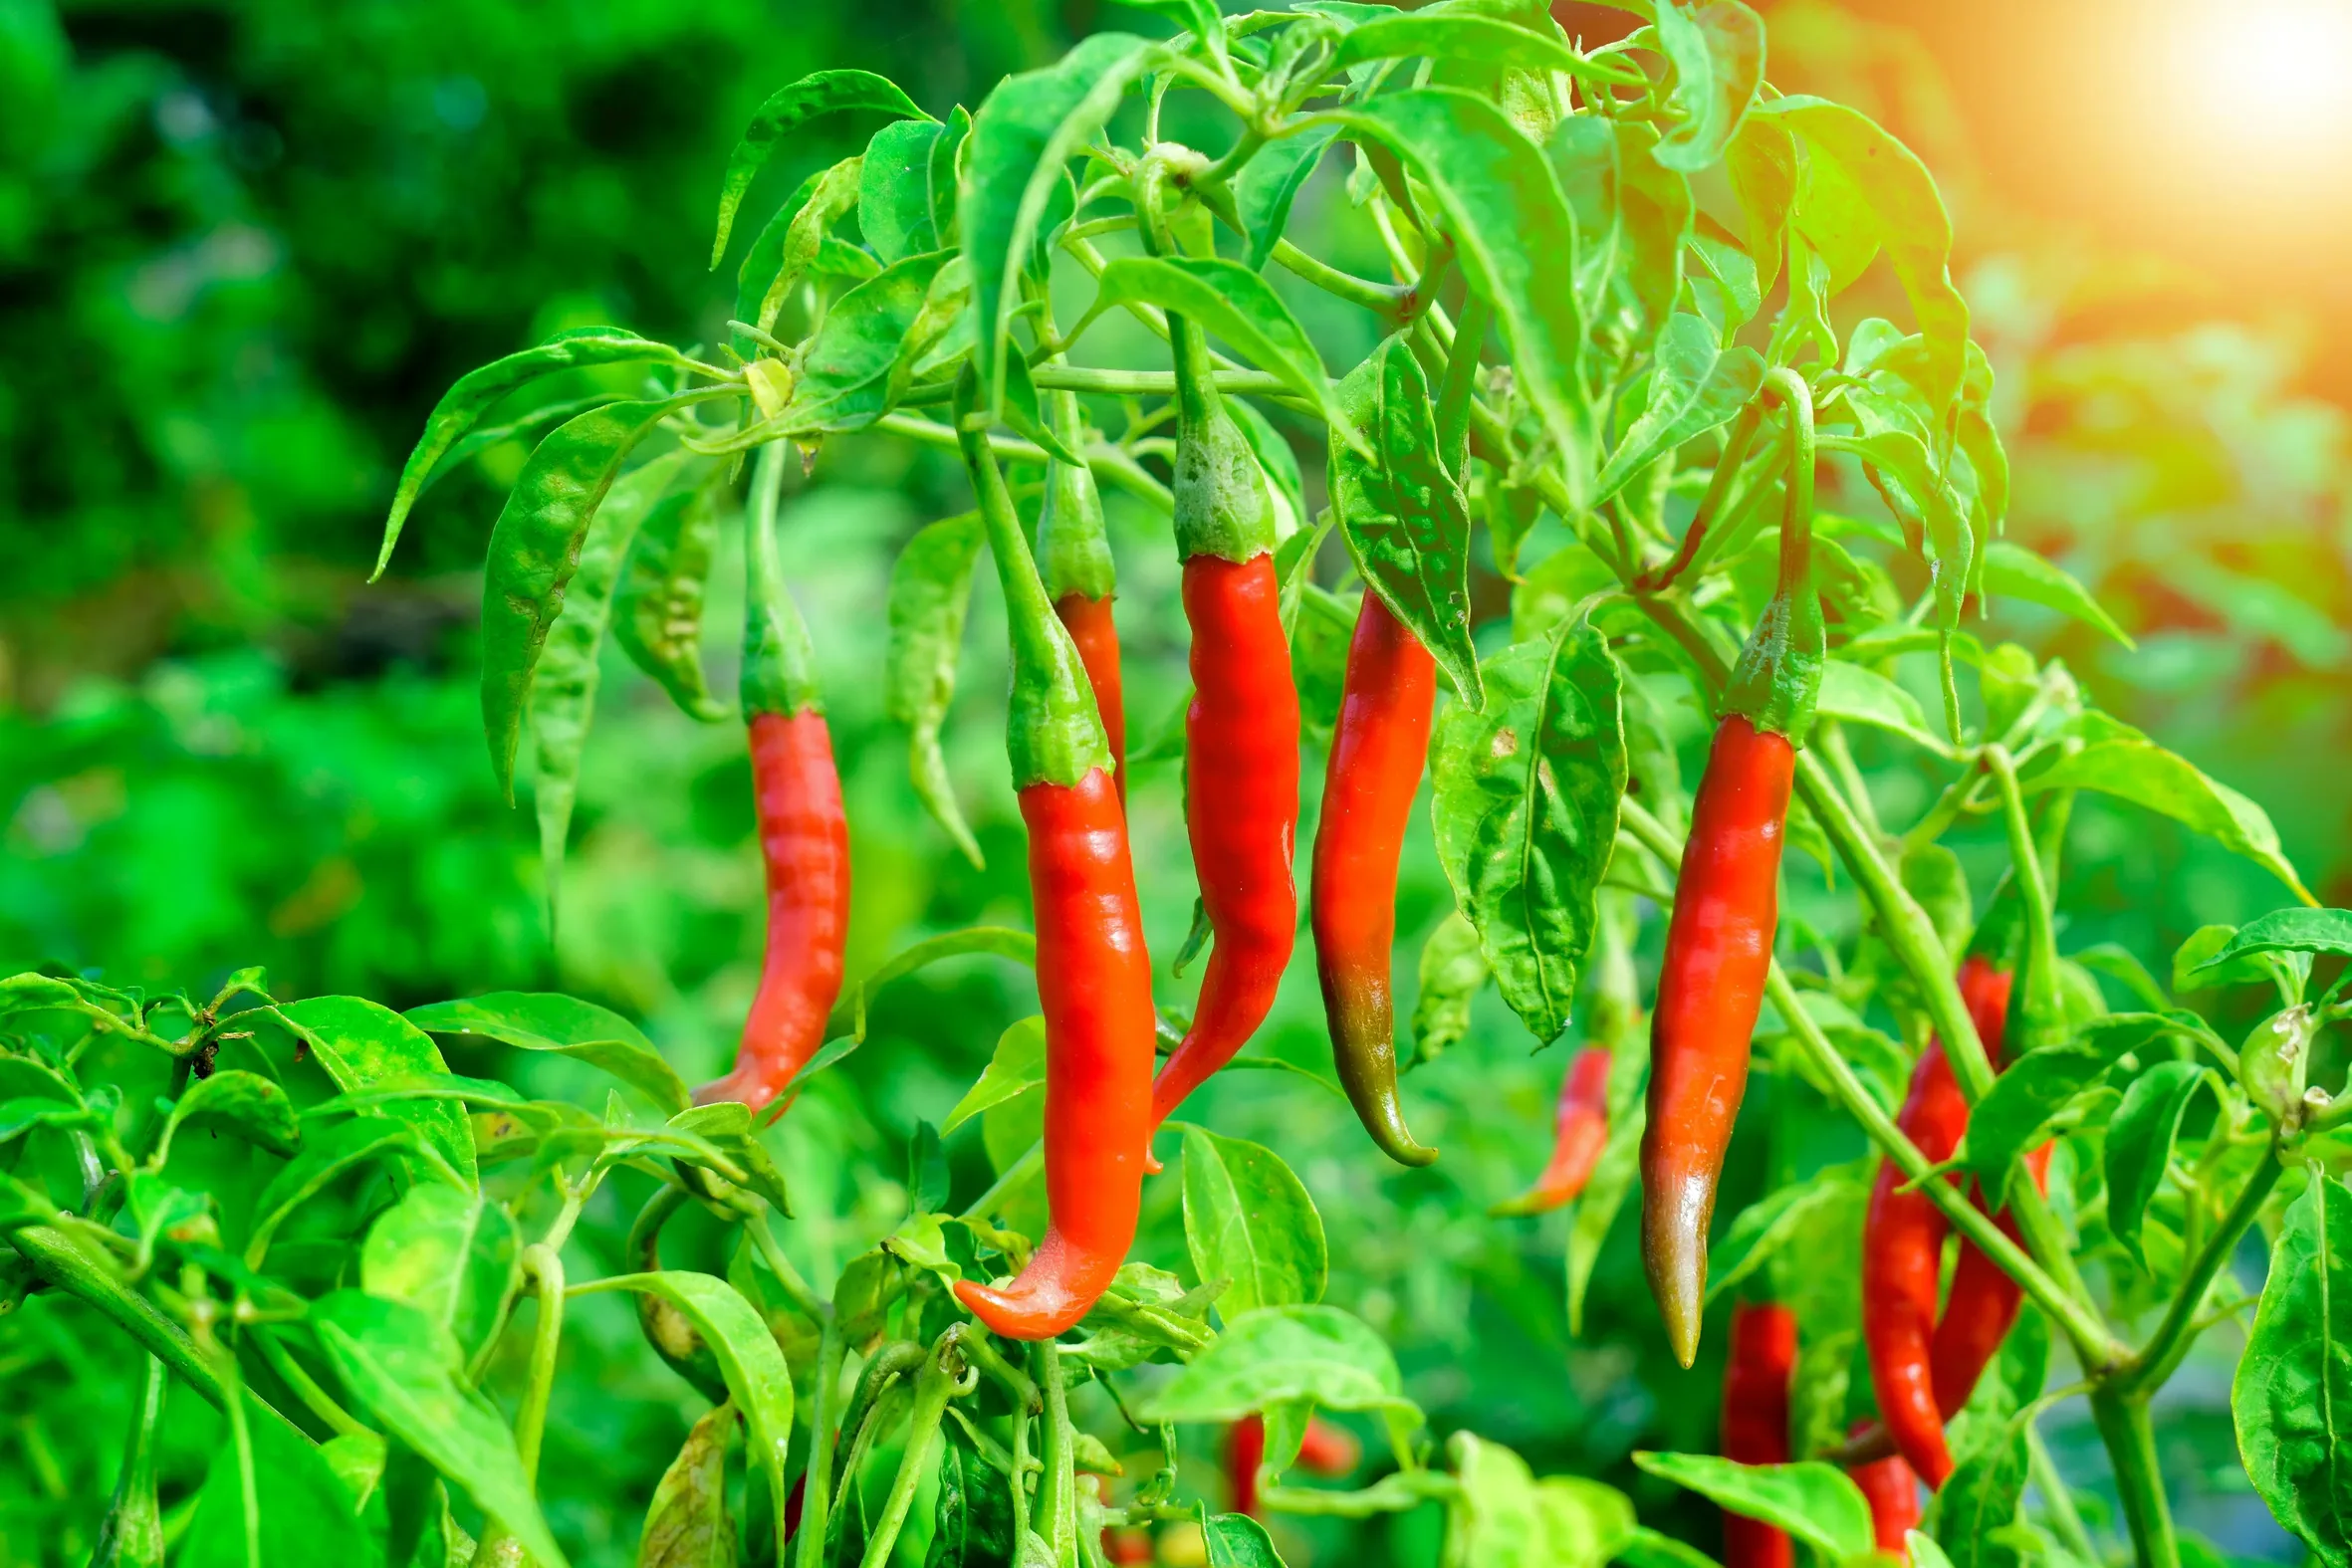
Super Hots and Habaneros
If you want to grow varieties like the Ghost Pepper (Bhut Jolokia), 7 Pot, or any super-hot hybrids, you must start them now. These plants are slow starters. They take their time to germinate and grow slowly in the seedling stage. Sowing them in March often leaves them running out of time just as they start to fruit.
Rocotos (Capsicum Pubescens)
These furry-leaved, black-seeded beauties love a long season. They tolerate cooler temperatures better than other varieties once established, but they need a significant head start to reach their full, sprawling potential.
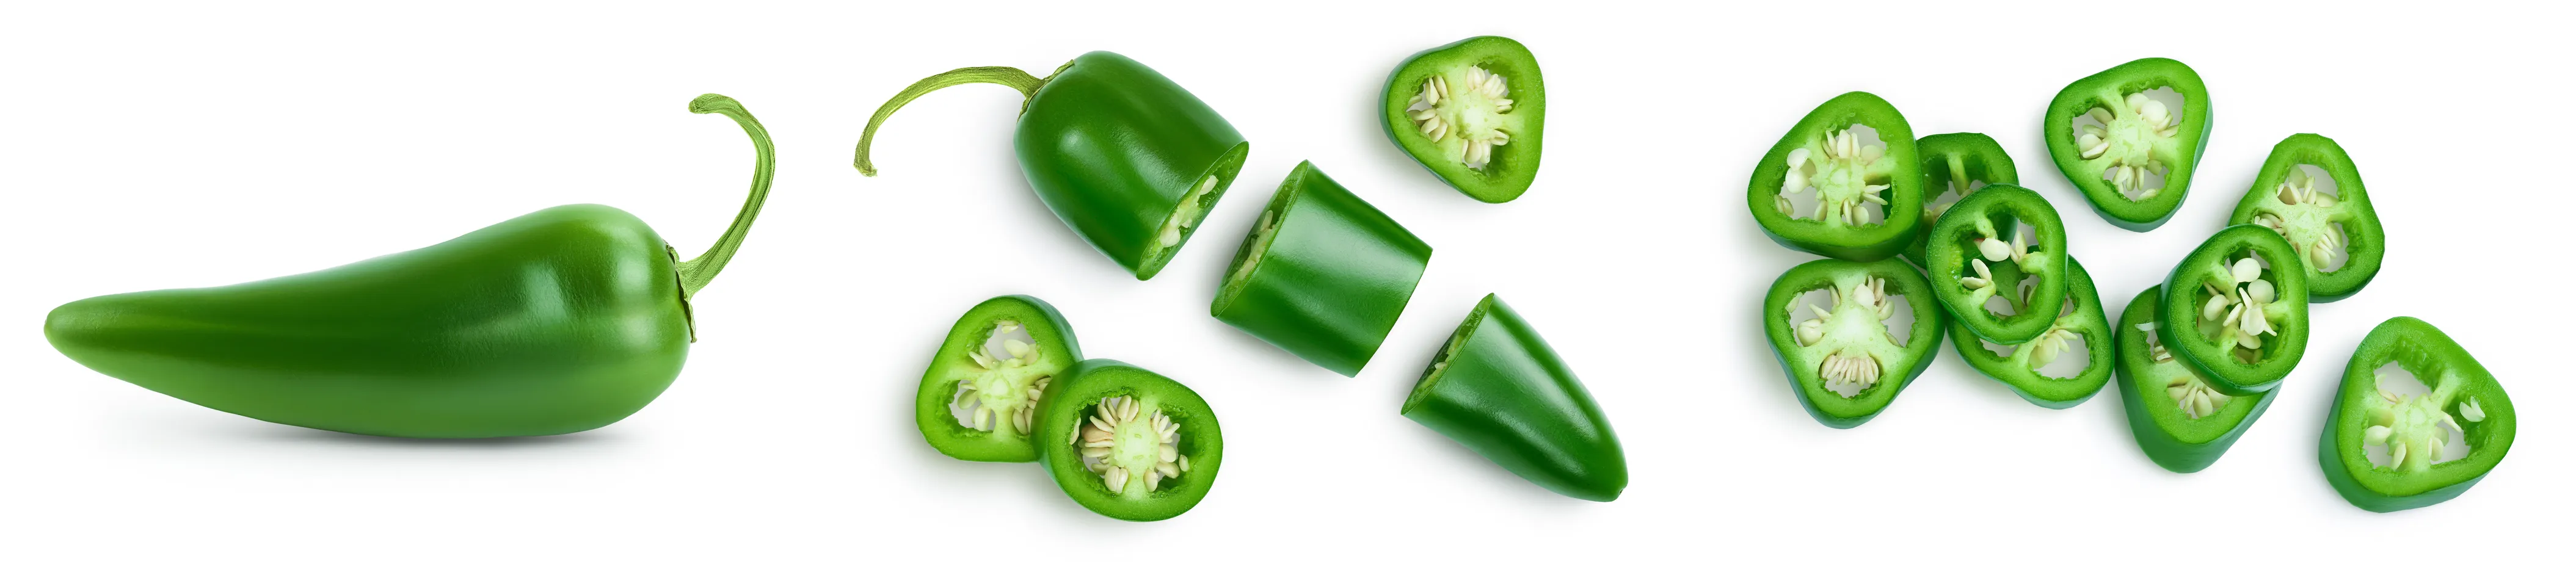
Note: If you are planning to grow faster varieties like Jalapeños, Cayennes, or other Capsicum annuums, you can afford to wait until February or even March. But if you have the space and the lighting, there's no harm in starting them early too!
Here’s a list of chilli varieties that benefit from being sown in January, especially in colder climates like the UK, where a longer growing season is essential:
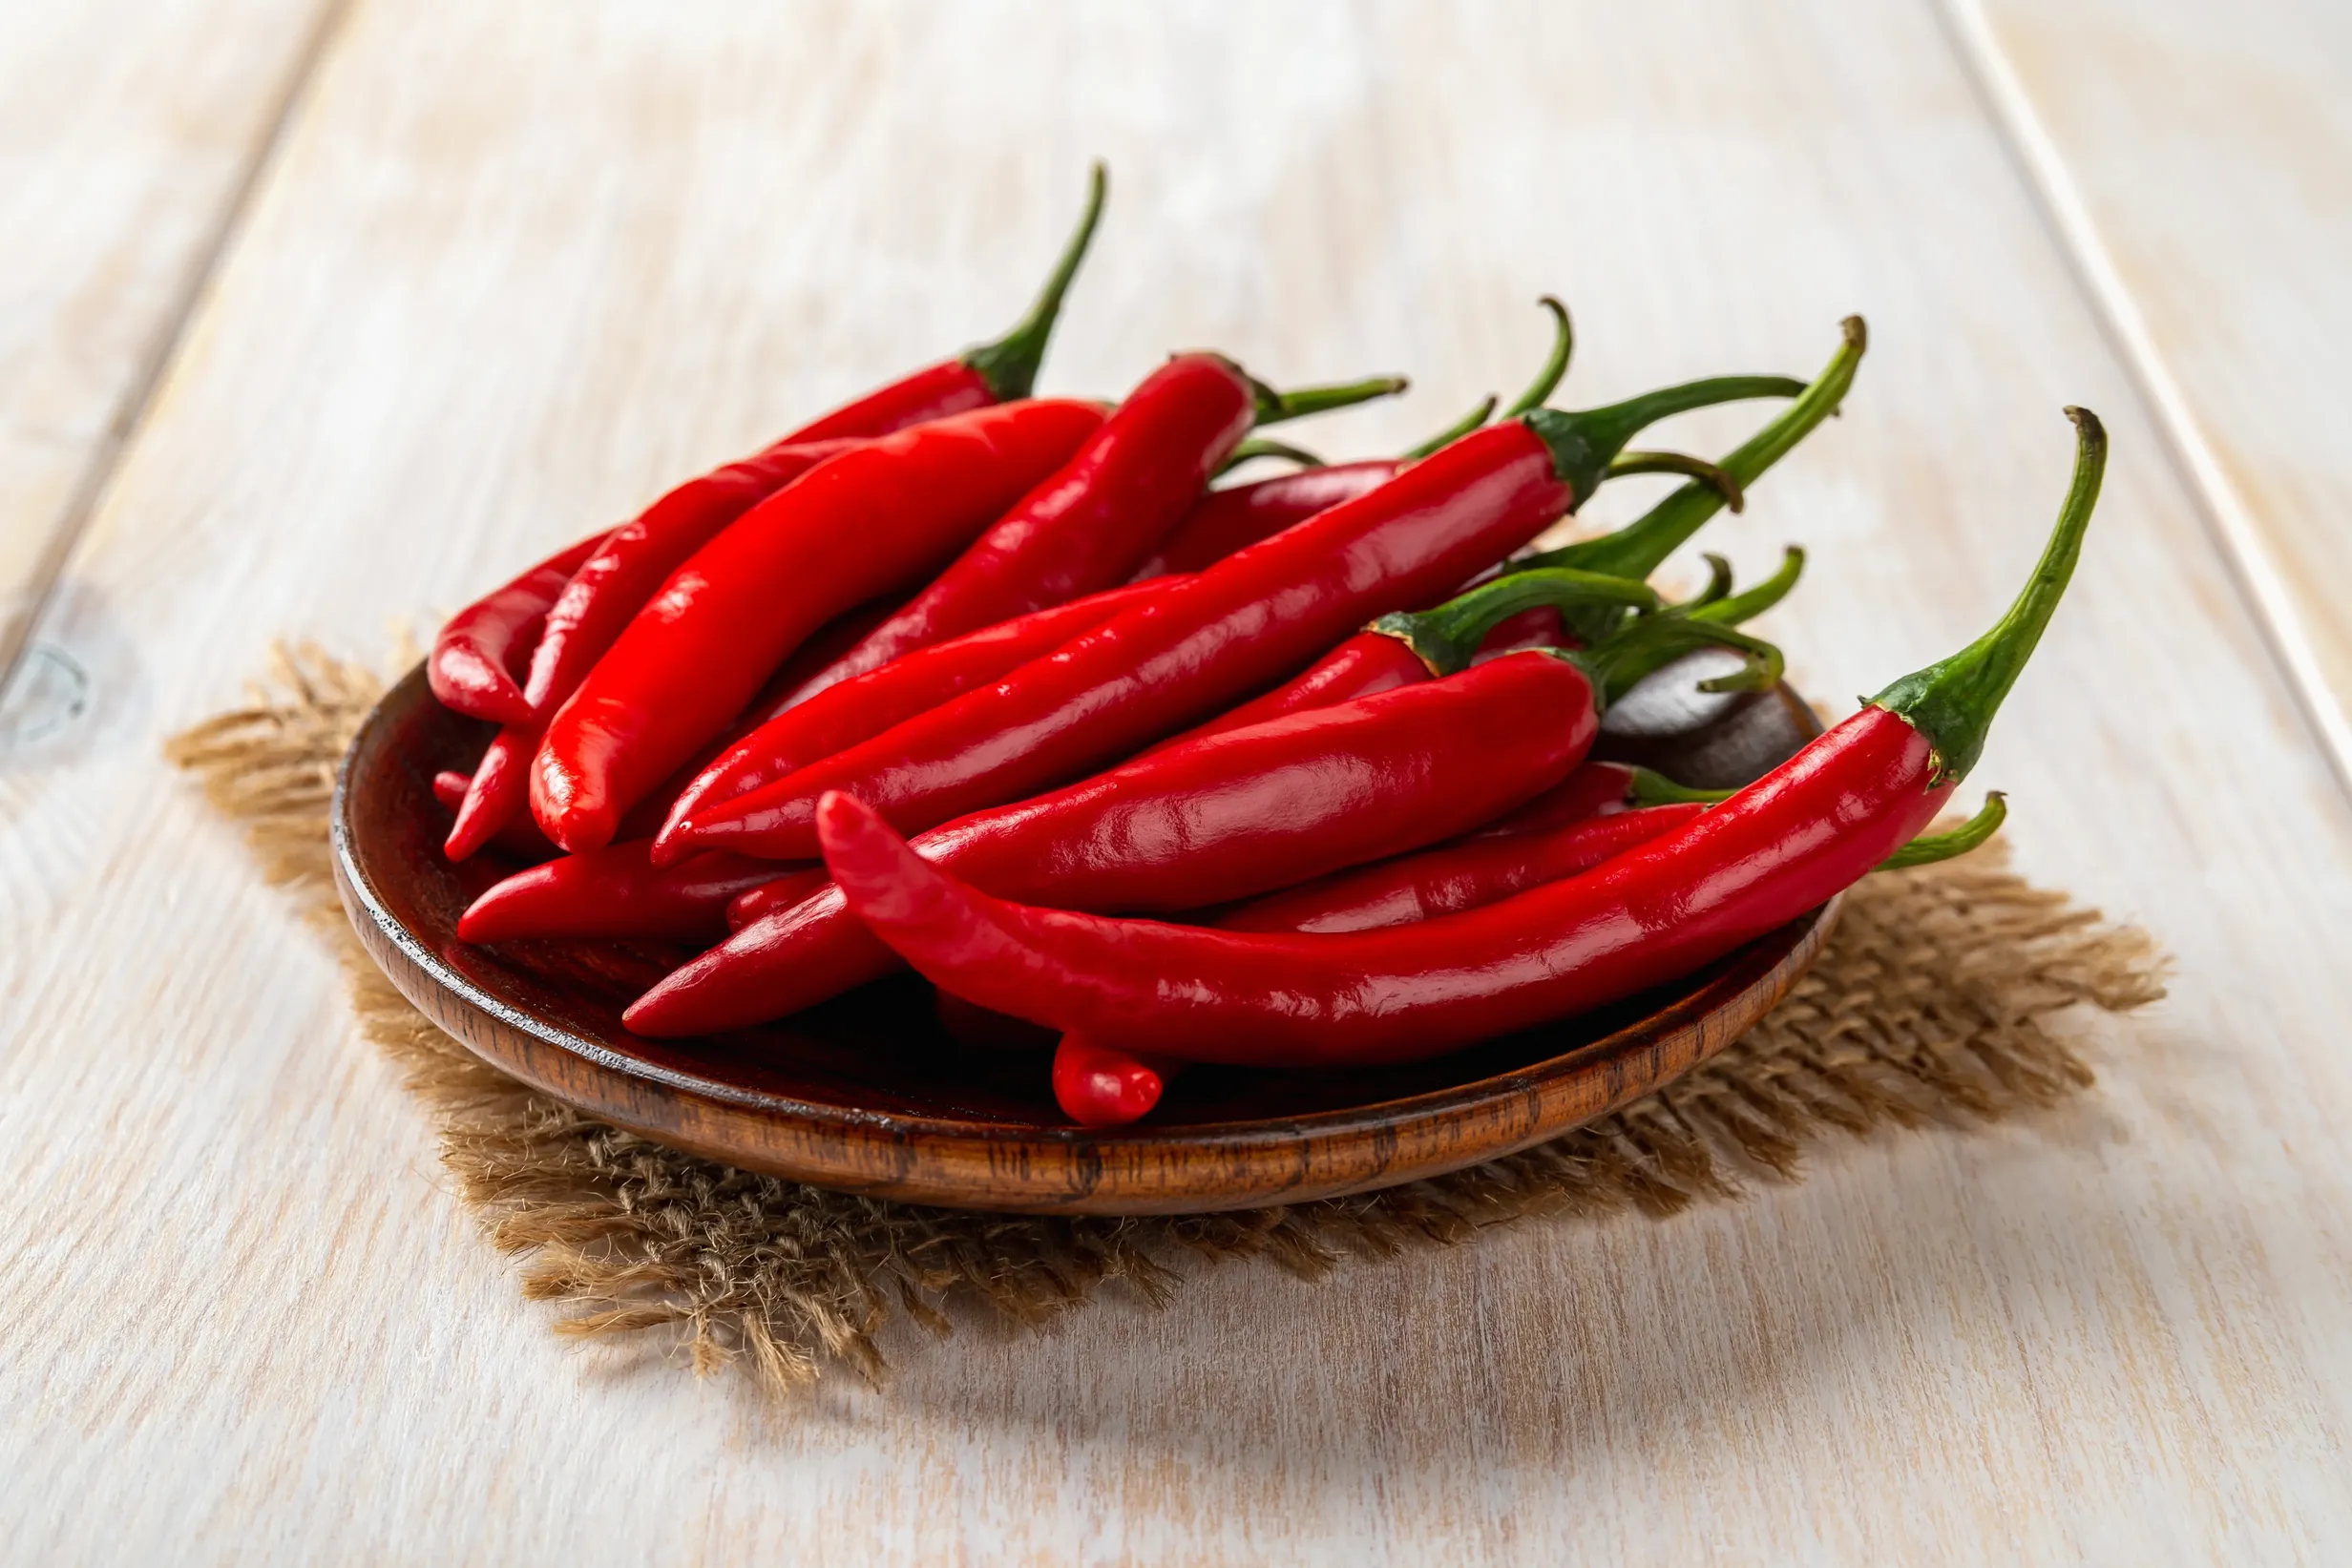
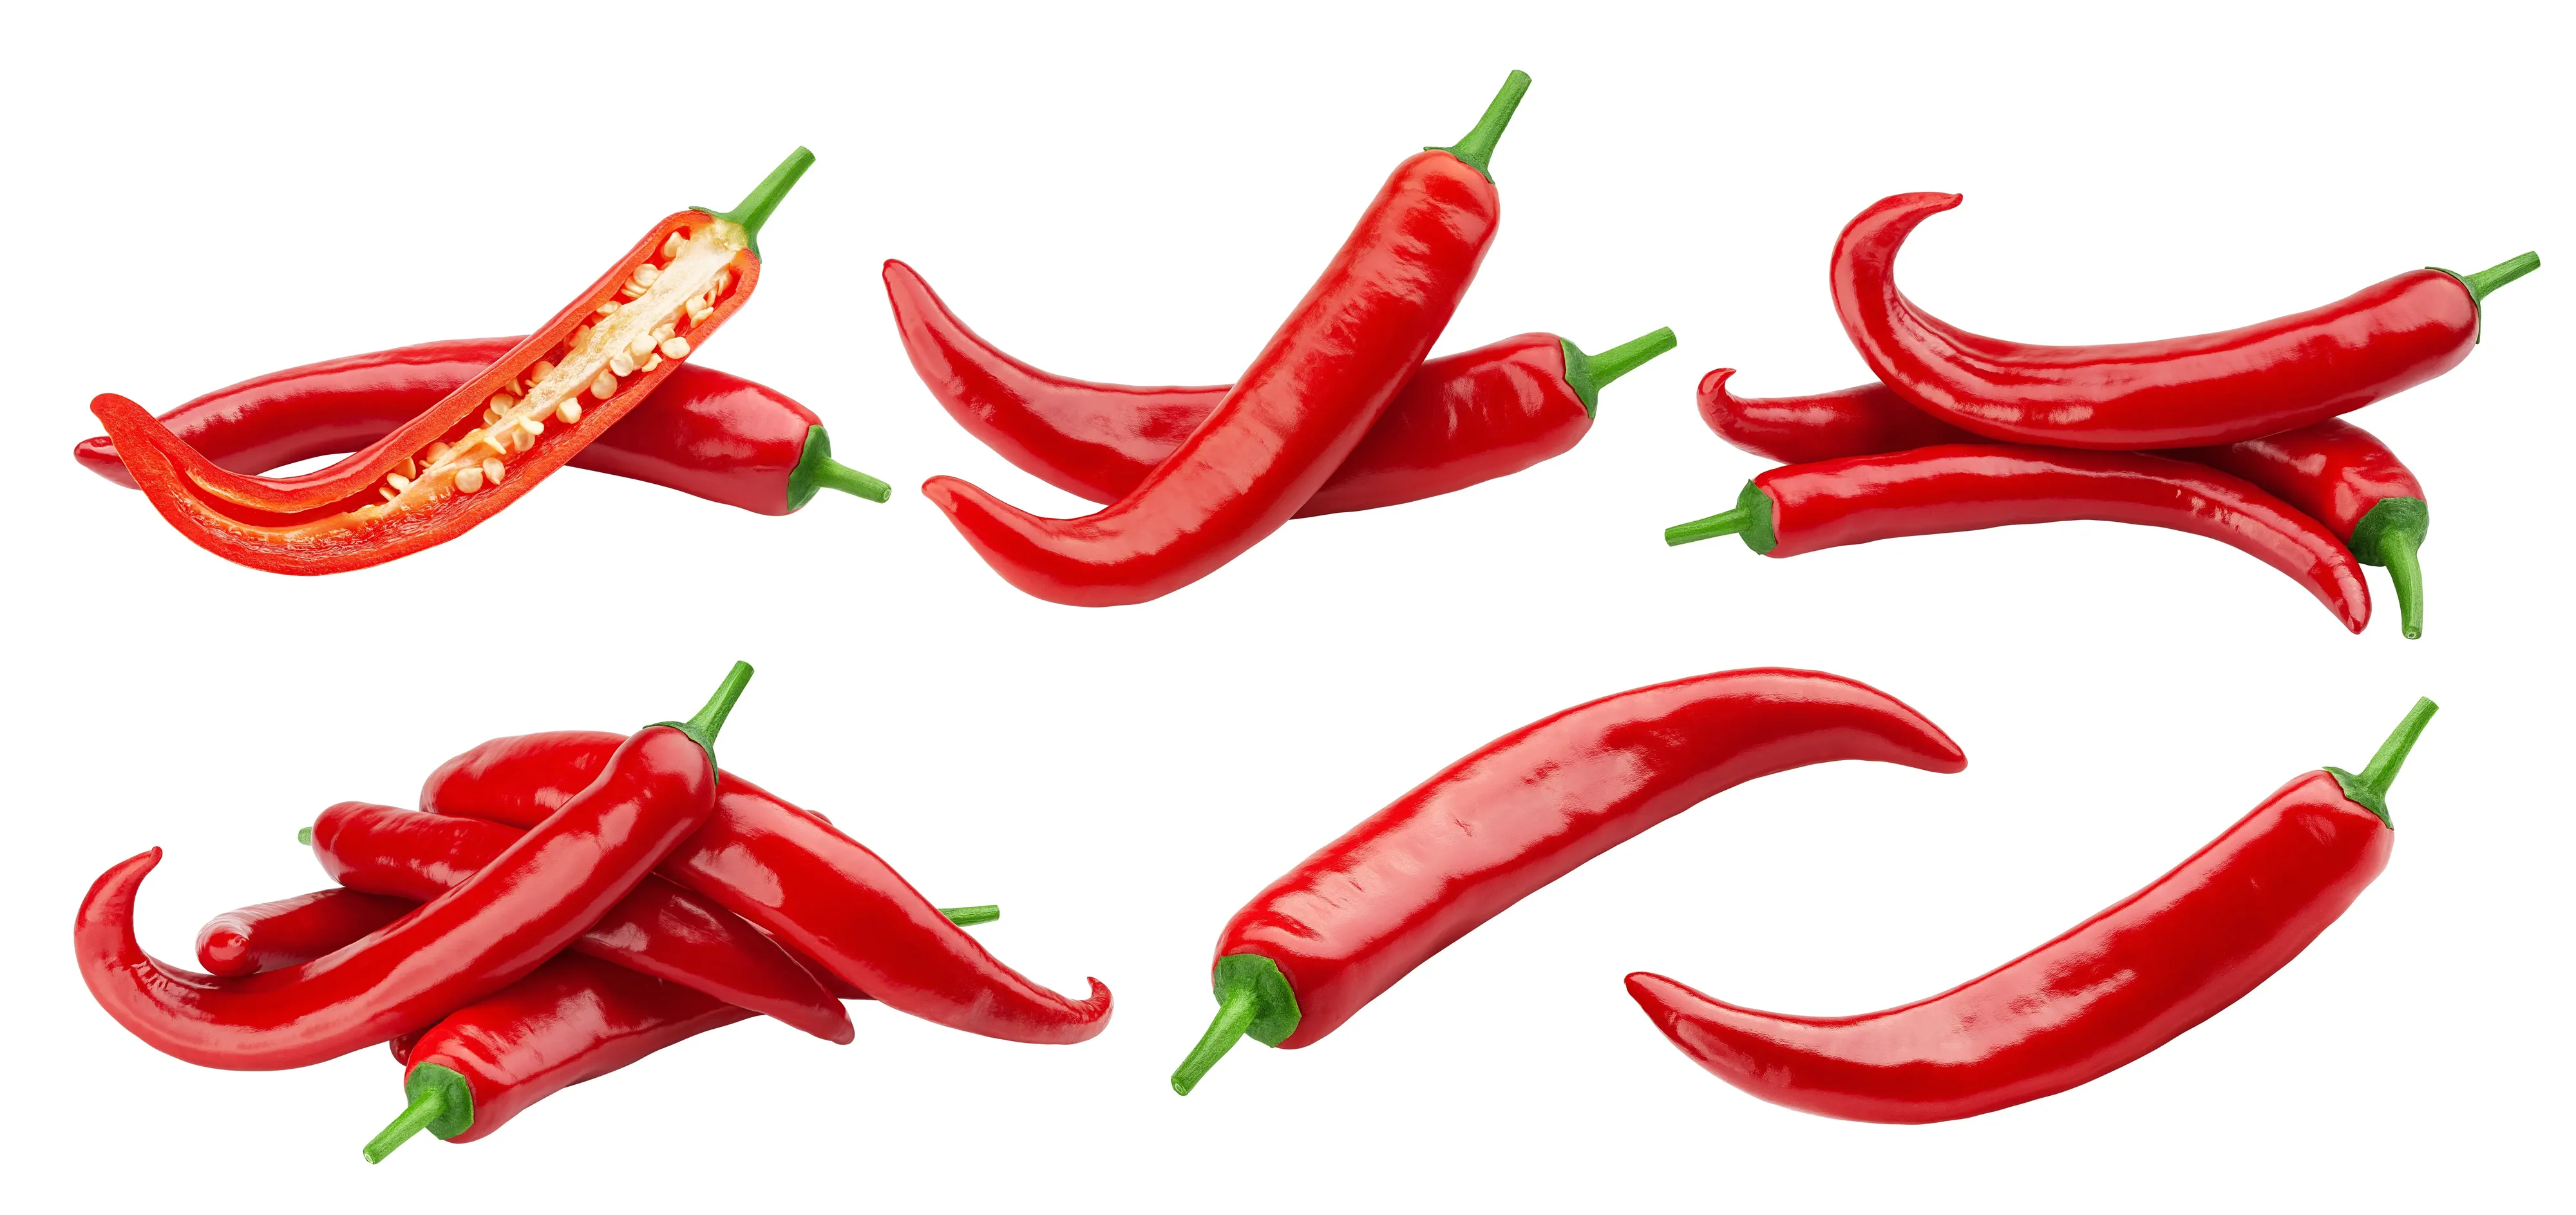
Super-Hot Varieties (Capsicum chinense)
- Carolina Reaper – Known as one of the hottest chillies in the world, it requires a long growing season to mature.
- Ghost Pepper (Bhut Jolokia) – A slow-growing variety that thrives with an early start.
- 7 Pot Douglah – Another super-hot variety that needs extra time to develop.
- Trinidad Scorpion – Famous for its heat and unique flavor, it benefits from early sowing.
- Habanero – A popular choice for its fruity flavor and heat, requiring a head start to mature.
Rocoto Varieties (Capsicum pubescens)
- Rocoto Red – Tolerates cooler temperatures but needs a long season to reach its full potential.
- Rocoto Orange – Similar to the red variety, it thrives with an early start.
Other Long-Season Chillies
- Chocolate Habanero – A rich, smoky-flavored chilli that grows slowly.
- Fatalii – A citrusy, hot variety that benefits from extra growing time.
- Scotch Bonnet – Known for its sweet-heat flavor, it requires a long season to ripen fully.
Starting these varieties in January ensures they have enough time to germinate, grow, and produce ripe fruit before the cooler autumn months. Let me know if you'd like more details about any of these chillies!
Equipment You Will Need
Growing in winter means you can't rely on the windowsill alone. The days are too short, and the light is too weak. To succeed in January, you need a bit of kit.
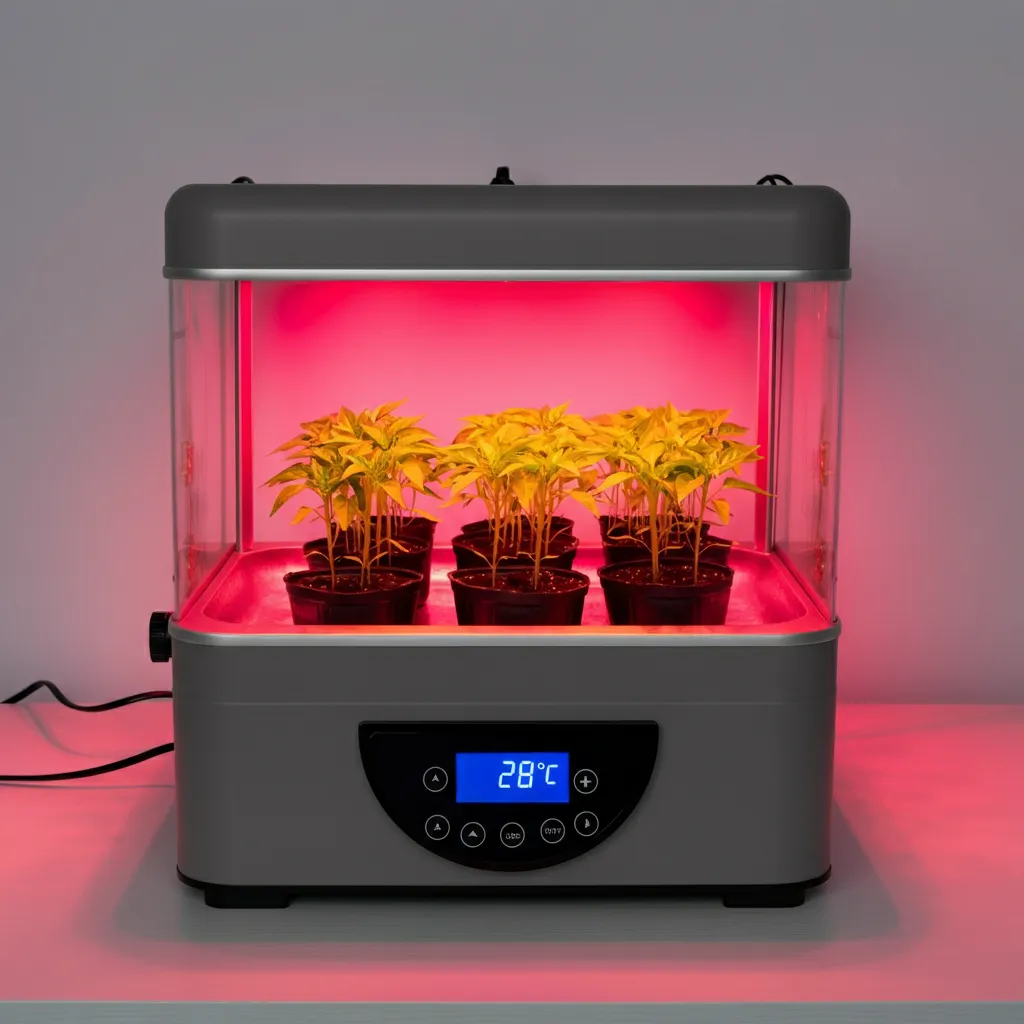
- Propagator: Chillies need heat to germinate. A heated propagator is ideal, as it maintains a constant temperature (around 25-28°C is the sweet spot for super hots).
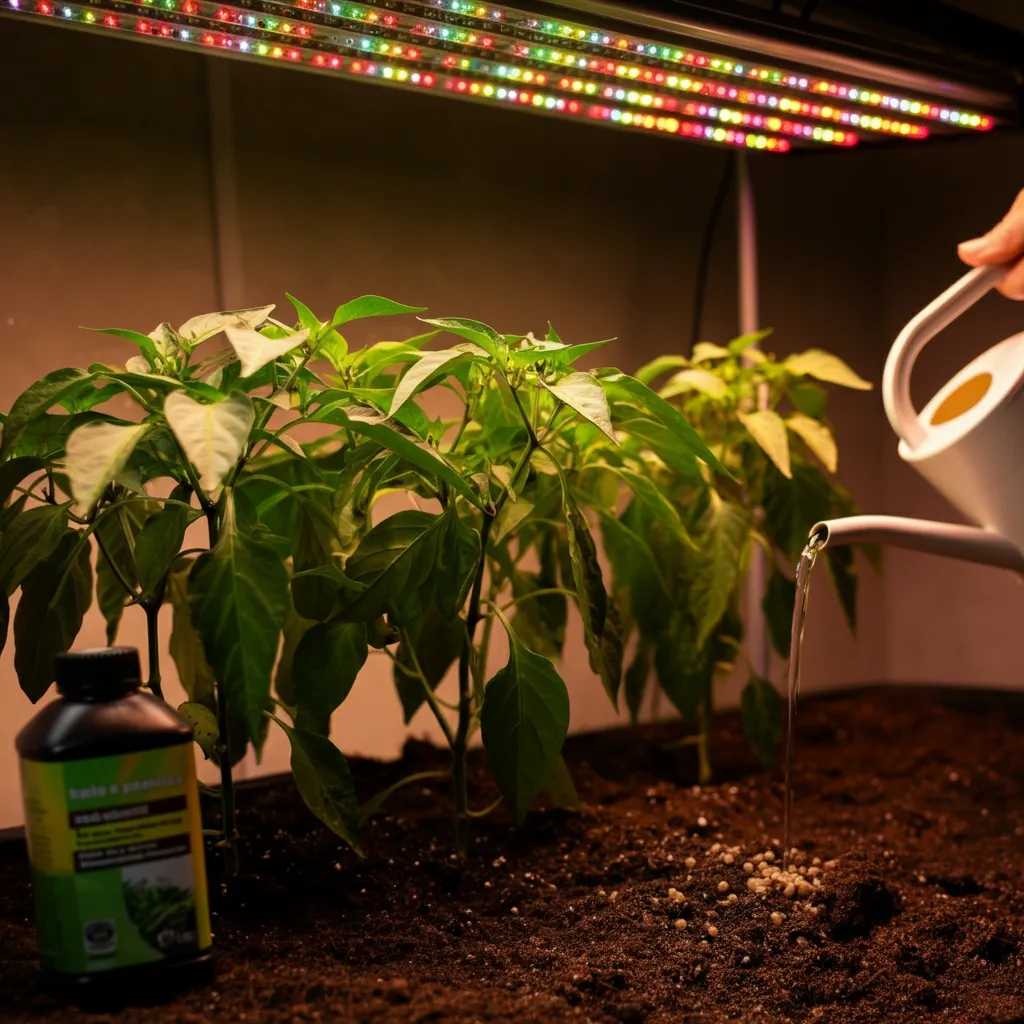
- Grow Lights: This is non-negotiable for January sowing. Without supplemental light, seedlings will become "leggy"—tall, thin, and weak as they stretch desperately for the sun. LED grow lights are energy-efficient and effective.
- Seed Compost: Use a fine, high-quality seed compost or coir pellets. Avoid heavy potting soil, which can suffocate delicate young roots.
- Labels: Trust us, you will forget which pot is which. Label everything immediately!
Step-by-Step Guide to January Sowing
1. Pre-Soak Your Seeds
Give your seeds a helping hand by soaking them in warm water (or weak tea) for 12-24 hours before planting. This softens the seed coat and signals that it’s time to wake up.
Why Pre-Soak Chilli Seeds?
Pre-soaking chilli seeds can help soften the seed coat, speed up germination, and improve the chances of success, especially for varieties with tough or slow-germinating seeds like super-hots.
1. Tannins and Seed Soaking (Using Tea)
Tannins, naturally found in tea, can help break down the seed coat and encourage germination. Here’s how to use tea for soaking your seeds:
- Brew a weak cup of black or chamomile tea. Let it cool to room temperature.
- Place your chilli seeds in the tea, ensuring they are fully submerged.
- The tannins in the tea will gently soften the seed coat, making it easier for the seedling to emerge.
This method is particularly useful for super-hot varieties like Carolina Reaper, Ghost Pepper, and Trinidad Scorpion, which often have thicker seed coats.
2. Hydrogen Peroxide for Seed Soaking
Hydrogen peroxide is another effective method to pre-soak seeds. It helps disinfect the seeds, reducing the risk of fungal infections, and can also stimulate germination. Here’s how to do it:
- Mix a solution of 3% hydrogen peroxide with water in a 1:10 ratio (e.g., 1 part hydrogen peroxide to 10 parts water).
- Submerge the seeds in the solution for 15-30 minutes. Avoid soaking for too long, as it may damage the seeds.
- Rinse the seeds thoroughly with clean water after soaking.
This method is ideal for seeds that are older or have been stored for a long time, as it can help rejuvenate them.
3. Varieties Being Grown for the Seed to Sauce Series
If you’re growing chillies for a “Seed to Sauce” series, consider pre-soaking seeds from these varieties:
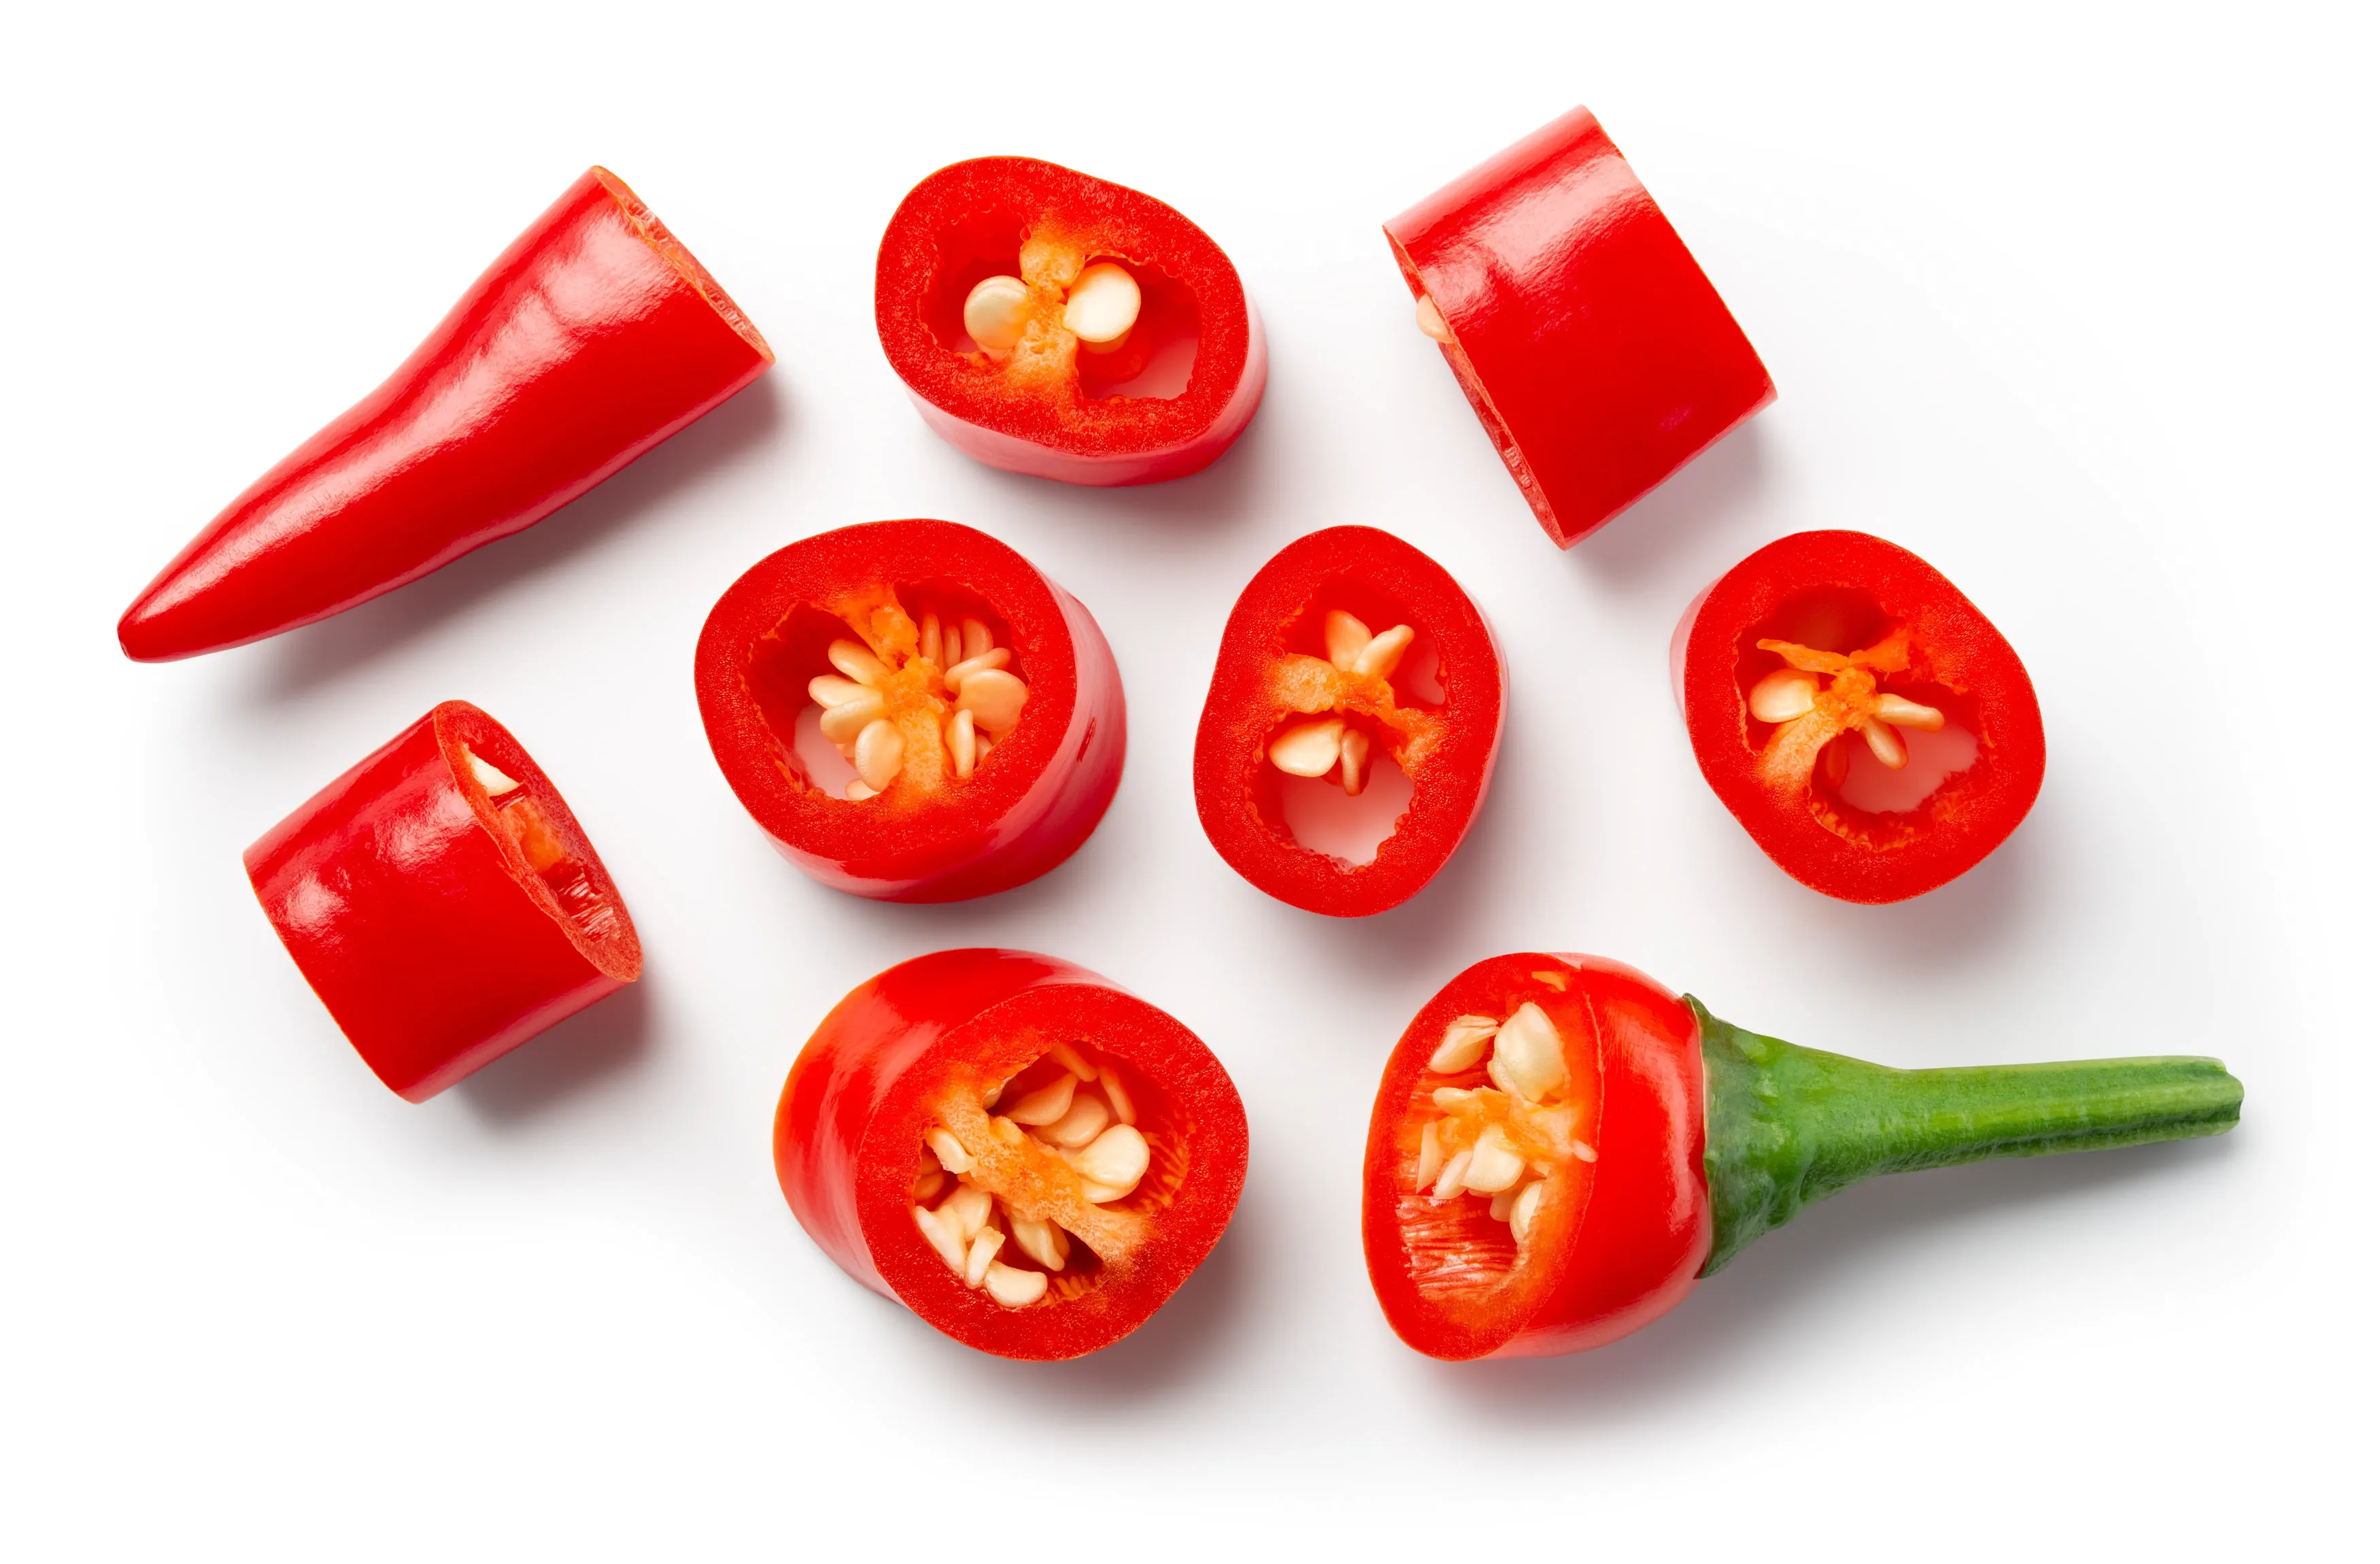
- Carolina Reaper: For its extreme heat and fruity flavor.
- Habanero: A classic choice for sauces with a balance of heat and sweetness.
- Rocoto: Known for its thick walls and unique flavor, perfect for sauces.
- Fatalii: A citrusy variety that adds a bright, tangy kick to sauces.
- Scotch Bonnet: A staple in Caribbean sauces, offering a sweet-heat profile.
Pre-soaking these varieties ensures they germinate quickly and grow into healthy plants, ready to produce an abundant harvest for your sauce-making adventures.
4. Starting to Soak the Seeds
Follow these steps to begin soaking your seeds:
- Select your preferred soaking method (tea, hydrogen peroxide, or plain water).
- Place the seeds in a small bowl or container.
- Pour the prepared soaking solution over the seeds, ensuring they are fully submerged.
- Label the container with the variety name and date to keep track of your seeds.
5. How Long to Soak Your Chilli Seeds?
The soaking duration depends on the method you choose:
- Tea Soak: Soak for 12-24 hours. Avoid exceeding 24 hours, as prolonged soaking can lead to seed rot.
- Hydrogen Peroxide Soak: Soak for 15-30 minutes, followed by a thorough rinse.
- Plain Water Soak: Soak for 12-24 hours, changing the water halfway through if possible.
After soaking, plant the seeds immediately in seed compost or a suitable growing medium. Ensure the environment is warm and humid to encourage germination.
By pre-soaking your chilli seeds using these methods, you’ll give them the best possible start, ensuring strong germination and healthy plants for a productive growing season. Let me know if you’d like further tips or visuals to accompany this guide!
2. Prepare the Compost
Fill your seed trays or pots with your chosen compost. Water it lightly before you sow. You want it damp, like a wrung-out sponge, not sodden. If you water after sowing, you risk washing the tiny seeds away or burying them too deep.
Why Compost Preparation Matters
Chilli seeds require a fine, nutrient-rich, and well-draining growing medium to germinate successfully. Properly prepared compost provides the right balance of moisture, aeration, and nutrients for the seeds to sprout and thrive.
1. Choose the Right Compost
Start with a high-quality seed compost or create your own mix. Seed compost is specifically designed for germination and early growth, as it is low in nutrients to prevent seedling burn. If you’re making your own, here’s a simple recipe:
- 1 part fine peat moss or coco coir: Retains moisture and provides a light, airy texture.
- 1 part fine vermiculite or perlite: Improves drainage and aeration.
- 1 part sieved garden compost: Adds organic matter and beneficial microbes.
2. Sieve the Compost
To ensure a fine texture, sieve the compost to remove any large particles, lumps, or debris. A fine-textured compost allows the delicate chilli roots to grow easily and ensures good seed-to-soil contact.
3. Sterilize the Compost (Optional)
Sterilizing the compost can help eliminate harmful pathogens, pests, or weed seeds that might hinder germination. Here’s how to sterilize:
- Oven Method: Spread the compost on a baking tray and heat it in the oven at 180°F (82°C) for 30 minutes.
- Microwave Method: Place the compost in a microwave-safe container, cover it loosely, and heat on high for 10 minutes.
Allow the compost to cool completely before use.
4. Moisten the Compost

Chilli seeds need consistent moisture to germinate, but the compost should not be waterlogged. Follow these steps:
- Add water gradually to the compost while mixing it with your hands or a trowel.
- The compost should feel damp but not dripping. A good test is to squeeze a handful of compost—if water drips out, it’s too wet; if it crumbles, it’s too dry.
5. Fill the Seed Trays or Pots
- Choose seed trays, small pots, or cell trays with drainage holes to prevent waterlogging.
- Fill the containers with the prepared compost, gently pressing it down to remove air pockets but not compacting it too tightly.
- Leave a small gap (about 1 cm) at the top of the container to allow for watering.
6. Pre-Warm the Compost
Chilli seeds germinate best in warm conditions (around 25-30°C). To give them a head start:
- Place the filled seed trays or pots in a warm location, such as on a heated propagator or near a sunny window, for a few hours before sowing.
- This ensures the compost is at the optimal temperature for germination.
3. Sow the Seeds
Place your seeds on the surface of the compost. If you are using module trays, put one or two seeds per cell. Cover them lightly with a dusting of compost or vermiculite—about 5mm is plenty. They don't need to be buried deep; they just need contact with the moist soil.
4. Bring the Heat
Place your tray into the heated propagator. If you don’t have one, an airing cupboard can work, but you must check it daily. As soon as you see a green loop break the surface, they must be moved to the light immediately.
Chilli seeds sown in a heated propagator should be set at a temperature of 25°C to 28°C (77°F to 82°F). This range provides the optimal warmth for germination, especially for super-hot varieties like Carolina Reaper or Ghost Pepper, which can be slow to sprout.
Tips for Using a Heated Propagator:
- Monitor the Temperature: Use a thermometer to ensure the propagator maintains a consistent temperature within the ideal range.
- Avoid Overheating: Temperatures above 30°C (86°F) can harm the seeds and reduce germination rates.
- Humidity Control: Keep the propagator lid on to maintain humidity, but open it daily for ventilation to prevent mold or fungal growth.
- Check Daily: Once the seeds germinate and the green shoots appear, move them to a well-lit area under grow lights to prevent them from becoming leggy.
Maintaining the right temperature is crucial for successful germination and healthy seedlings!
5. Managing Light and Water
Once germination occurs (which can take anywhere from 7 days to a frustrating 4 weeks for super hots), turn on your grow lights. Keep the lights about 10-15cm above the seedlings to prevent stretching. Keep the compost moist but not wet—overwatering causes "damping off," a fungal disease that kills seedlings instantly.
Troubleshooting Winter Seedlings
Even with the best setup, things can go wrong.
- Helmet Heads: Sometimes the seed casing gets stuck on the leaves. Keep the humidity high, and if necessary, gently moisten the casing with a drop of water to help it slide off.
- Leggy Plants: If your plants look like beanstalks, they aren't getting enough light. Lower your lights or increase the intensity.
- Mould on Soil: This usually means poor airflow or overwatering. Let the surface dry out slightly and consider a small fan to keep air moving (gentle airflow also strengthens the stems).
Next Steps
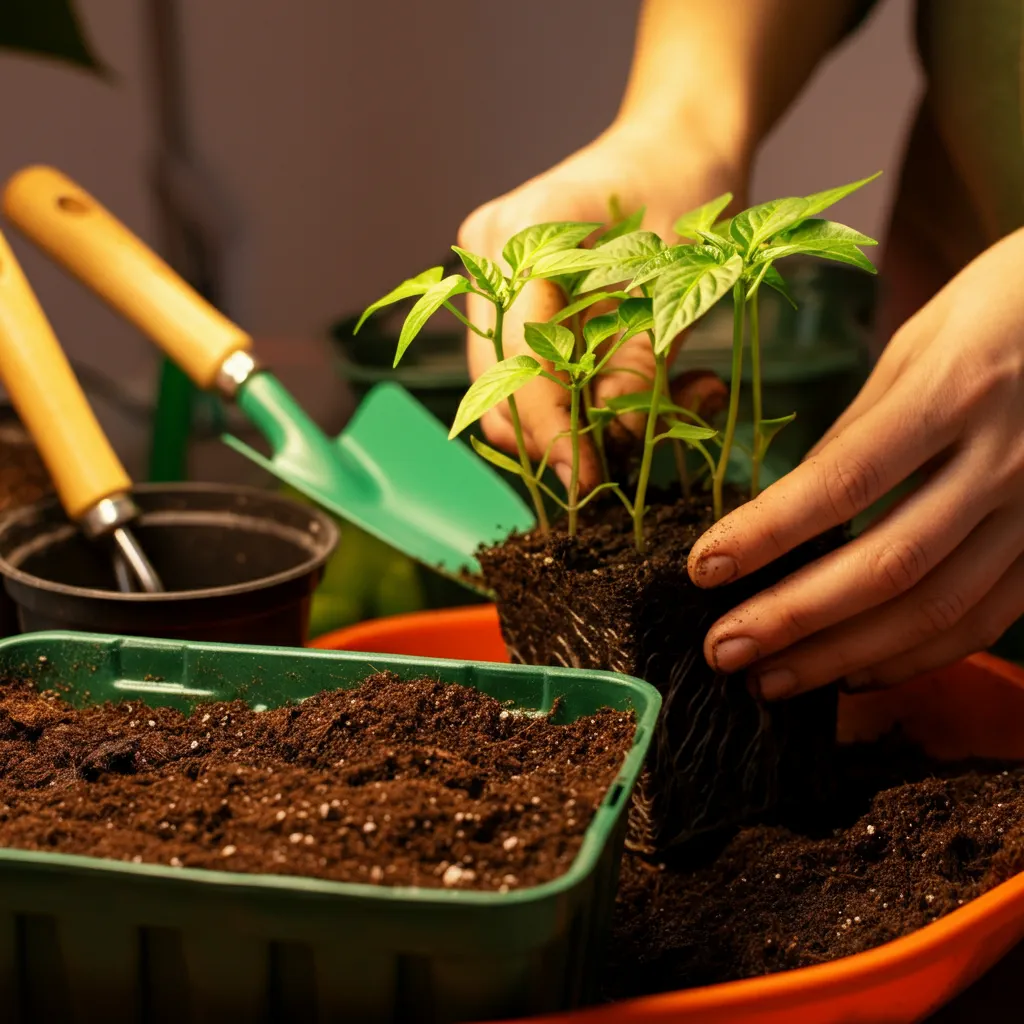
Once your seedlings have their first set of "true leaves" (the second set of leaves to appear), they are ready for their next adventure—potting on into larger containers. This gives your chillies the space, nutrients, and airflow they need to grow strong and healthy.
When to Pot On
Keep a close eye on your seedlings after germination. As soon as the true leaves are fully formed and the roots begin to show at the bottom of their cells or modules, it’s time to pot on. Don’t delay too long—overcrowded roots can stunt growth and lead to weak plants.
Choosing the Right Pots
Start with small pots (7–9cm is ideal for the first move) with drainage holes at the base. Using see-through pots or pre-formed seedling modules can help you keep an eye on root development. As your plants grow, you’ll gradually move them into larger pots, but at this early stage, smaller containers are best for encouraging root establishment.
Preparing the Soil
Use a good quality, peat-free multi-purpose compost or a mix of seed compost and perlite for improved drainage. A light, fluffy mix makes it easier for young roots to expand. If you want to add extra nutrients, mix in a little slow-release organic fertiliser, but don’t overdo it—too much feed early on can damage the roots.
How to Pot On Your Seedlings: Step-by-Step
- Water Beforehand: Give your seedlings a gentle drink about an hour before potting on to reduce stress and help the compost stick to the roots.
- Fill the New Pots: Add your prepared compost to each pot, lightly firming it down but not compacting it.
- Make a Planting Hole: Use a dibber, pencil, or your finger to create a hole large enough for the seedling’s roots.
- Gently Remove the Seedling: Ease the seedling out of its tray or cell, supporting it by a leaf, not the delicate stem. If roots are tangled, tease them gently apart.
- Position the Seedling: Place the seedling into the new hole, setting it at the same depth it was growing before. Fill in around it with compost and gently press to remove air pockets.
- Water In: Use a fine rose watering can or gentle spray to settle the compost around the roots.
Aftercare Tips
- Light: Place your potted-on seedlings back under grow lights or in a bright, sunny windowsill to prevent legginess.
- Temperature: Keep them warm—ideally between 18°C and 25°C.
- Moisture: Keep the compost damp but not wet. Consistent moisture is key, but don’t let them sit in water.
- Airflow: As seedlings grow, introduce a gentle breeze with a fan or open a window now and then to encourage strong stems and help prevent mold.
Potting on is a crucial milestone for your chillies—handle them with care, and you’ll be rewarded with sturdy, thriving plants. Now, keep monitoring your young chillies, and as they continue to grow, look forward to future potting-ups and, of course, that all-important first harvest.
Starting your chilli journey in the depths of winter is truly an act of optimism. It’s your commitment to the summer ahead. So get those seeds ordered, clear some space, and let’s make this the spiciest year yet!


Community Feedback