Grow Peppers Now: Your January Sowing Guide
January often feels like the deepest part of winter, a time when the garden is sleeping under a blanket of frost. But for those dreaming of a summer harvest bursting with vibrant colours and fiery flavours, this is precisely the moment to act. Beating the winter blues is easy when you're planning for sunshine, and there's no greater joy than growing your own food, especially something as rewarding as peppers.
Many gardeners believe January is far too early to start sowing seeds. While that might be true for some vegetables, it’s a common misconception when it comes to heat-loving plants. For peppers and chillies, an early start indoors is the secret ingredient for a hugely successful crop here in the UK. Giving them a head start now ensures they have enough time to mature and ripen during our precious summer months.
This guide will walk you through everything you need to know to get started. We'll explore why January is the perfect time to sow pepper seeds, how to choose the right varieties for our climate, and provide a detailed step-by-step guide to sowing. We’ll also cover what to do once those first green shoots appear and how to transplant them for strong, healthy growth. Get ready to turn a cold January weekend into a promise of a spicy, sun-soaked summer.
Why January is Prime Time for Peppers
Peppers, whether they're sweet, crisp bell peppers or tongue-tingling hot chillies, are notorious for their long growing season. They are native to much warmer climates than ours and need a substantial amount of time to grow from a tiny seed into a mature, fruit-bearing plant. By sowing chilli seeds in January, you are giving them a crucial head start of several months.
This extended timeline is essential for a successful harvest in the UK. An early start allows the plants to develop a strong root system and plenty of leafy growth before the summer even begins. When the warmest, sunniest part of the UK summer arrives—typically from July to September—your plants will be mature and ready to pour their energy into producing and ripening fruit. This means you'll be enjoying glossy, colourful peppers at their peak flavour.
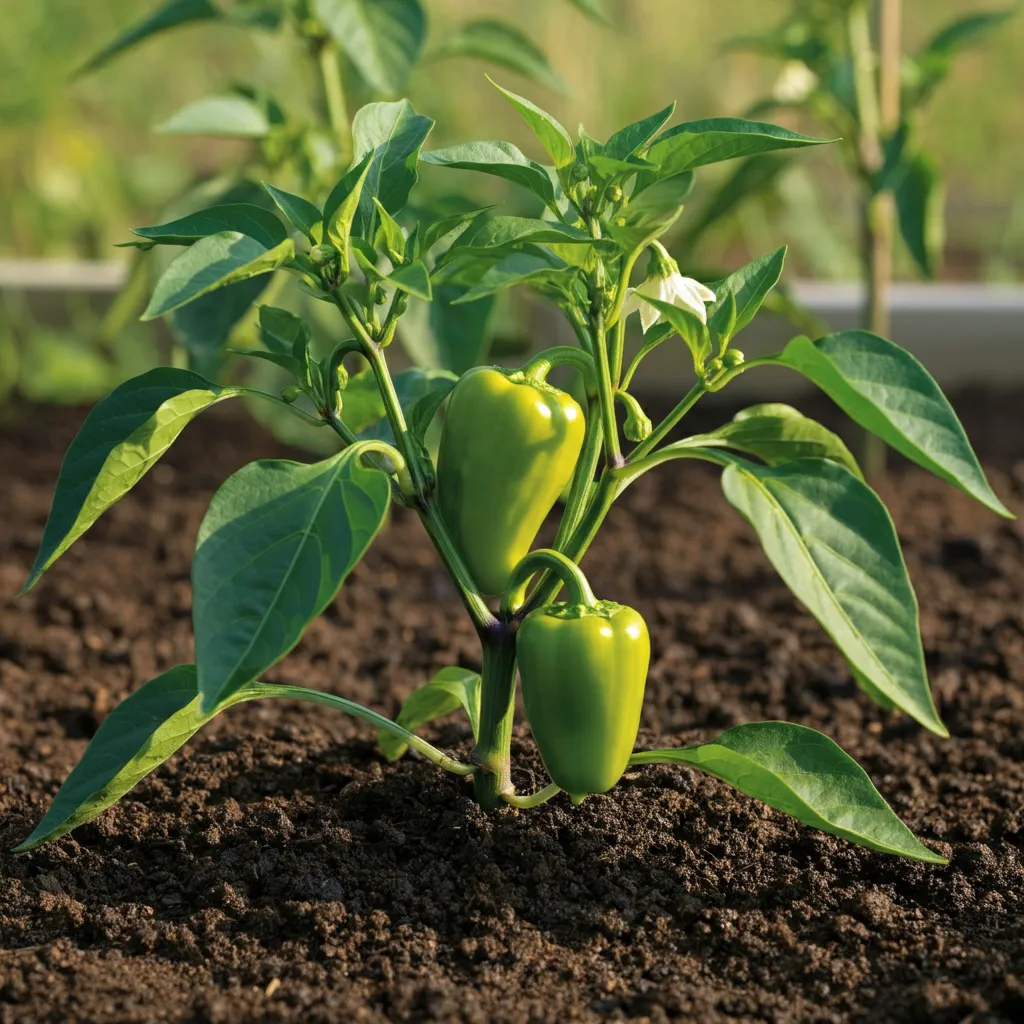
If you wait to sow your seeds in April or May, your plants will be playing catch-up all season. They may not have enough time to produce a large quantity of fruit, and you could be left with a crop of small, unripe green peppers as the first frosts of autumn arrive. For anyone who has patiently waited all summer only to be disappointed by a meagre harvest, sowing in January is the game-changing solution. It’s the single most effective step you can take towards a bountiful, flavourful crop.
Choosing Your Perfect Peppers
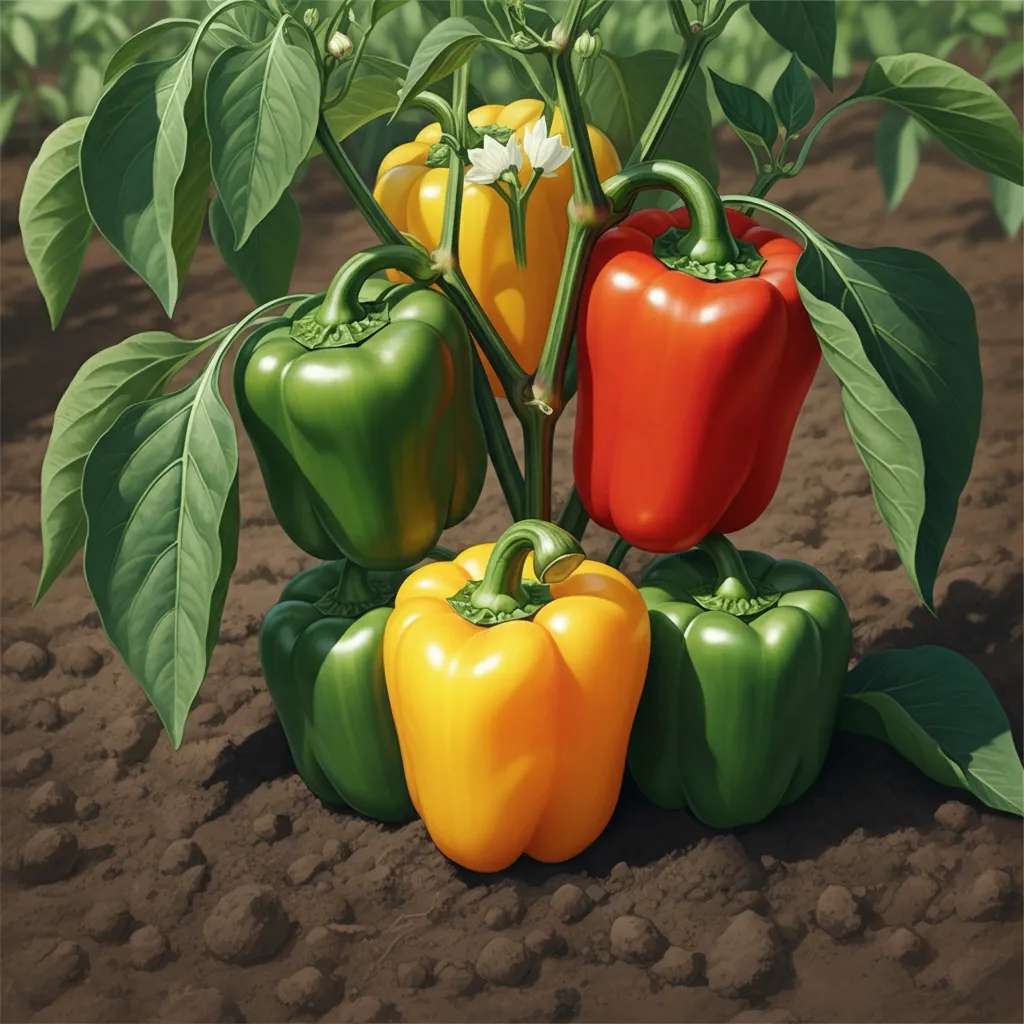
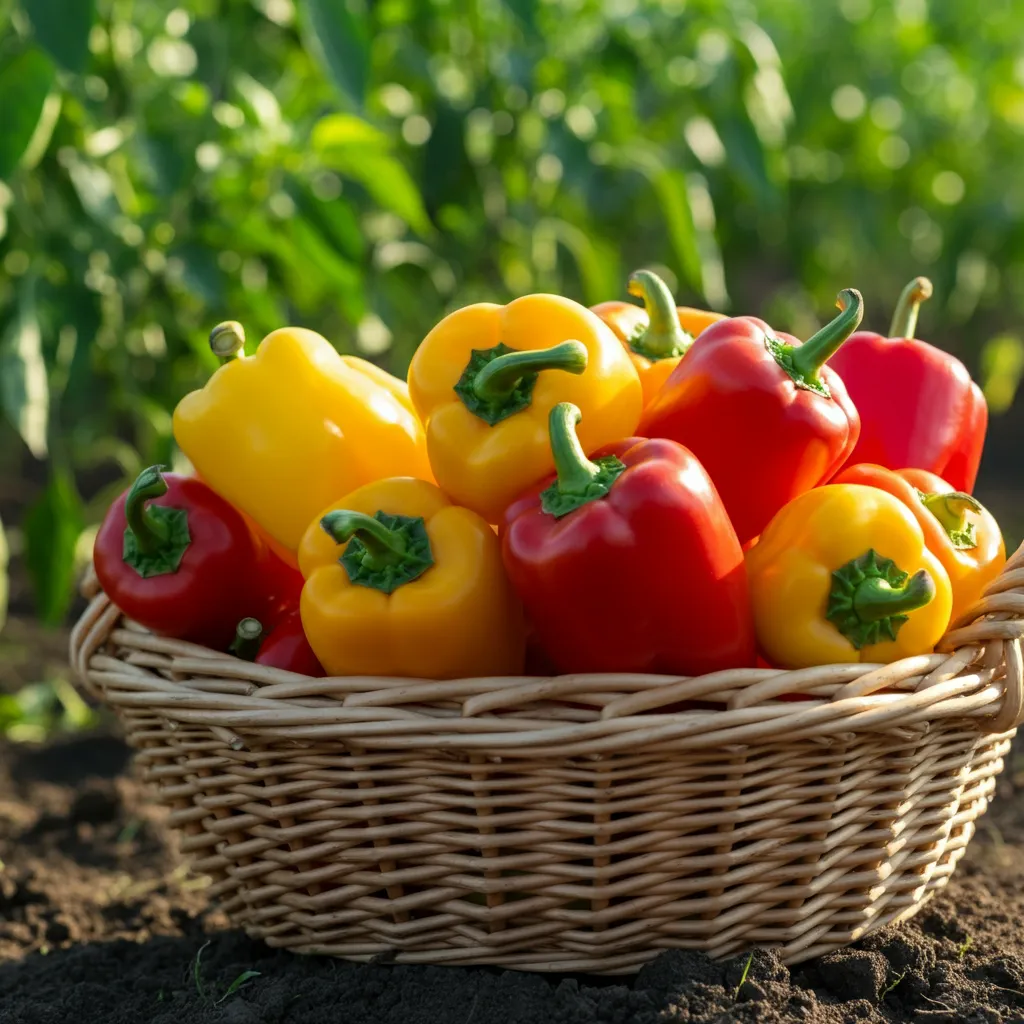
One of the most exciting parts of growing peppers is the sheer variety available. From blocky, sweet bell peppers perfect for salads and roasting, to slender, fiery chillies that add a kick to any dish, there's a pepper for every palate and culinary creation. Before you start sowing, it’s worth spending a little time thinking about what you want to grow and eat.
For those who prefer sweetness over heat, bell peppers are an excellent choice. Varieties like 'California Wonder' are a classic for a reason; they are reliable, productive, and produce large, thick-walled fruits that ripen from green to a beautiful sweet red. Another fantastic option is 'Sweet Banana', which yields long, pale yellow peppers that are wonderfully sweet and perfect for frying or stuffing.
If you're looking to turn up the heat, the world of chillies is vast and thrilling. For a gentle introduction to spice, 'Hungarian Hot Wax' is a superb variety. It produces medium-hot, banana-shaped peppers that change from yellow to orange and finally to red, getting hotter as they ripen. They are incredibly versatile and a favourite for pickling. For something with a bit more punch, 'Jalapeño' is a world-renowned variety that performs well in the UK, delivering a satisfying heat that's perfect for sauces and topping pizzas. And for the true spice aficionados, 'Habanero' varieties will provide an intense, fruity heat, though they require the longest and warmest growing season to perform their best.
When selecting your seeds, always read the packet carefully. It will provide crucial information about the variety, including its Scoville Heat Unit (SHU) rating, its final plant size, and its expected time to maturity. This will help you choose the best chilli peppers for your UK garden and ensure you know what to expect when it's time to harvest.
Step-by-Step Sowing Guide
With your chosen seeds in hand, it's time for the magic to begin. Sowing seeds indoors can feel like a professional gardening task, but it’s remarkably simple if you follow a few key steps. Here’s how to sow pepper seeds for the best possible start.
1. Gather Your Gear
Before you start, get all your equipment ready. This makes the process smooth and enjoyable. You will need:
- Seed trays or small pots: Modular trays with individual cells are ideal, but 7-9cm pots also work well.
- Quality seed compost: A fine-grade, sterile compost specifically designed for starting seeds is essential.
- Labels: Don't skip this! You’ll need them to mark the variety and sowing date.
- A fine-rose watering can or mister: To water gently without dislodging the seeds.
- A propagator or clear plastic bags: To create a warm, humid environment for germination.
- Vermiculite (optional): A light layer over the seeds can help retain moisture and prevent disease.
2. Prepare Your Compost
The right compost provides the perfect foundation for your seeds. Seed-starting compost is finer and has fewer nutrients than multi-purpose compost, which prevents young, delicate roots from being scorched. Before sowing, tip the compost into a bucket or large bowl and add a little water. Mix it thoroughly with your hands until it’s evenly damp but not waterlogged. A good test is to squeeze a handful; it should hold its shape but not drip excess water. Fill your pots or trays with this compost, gently firming it down to remove any air pockets, and level the surface.
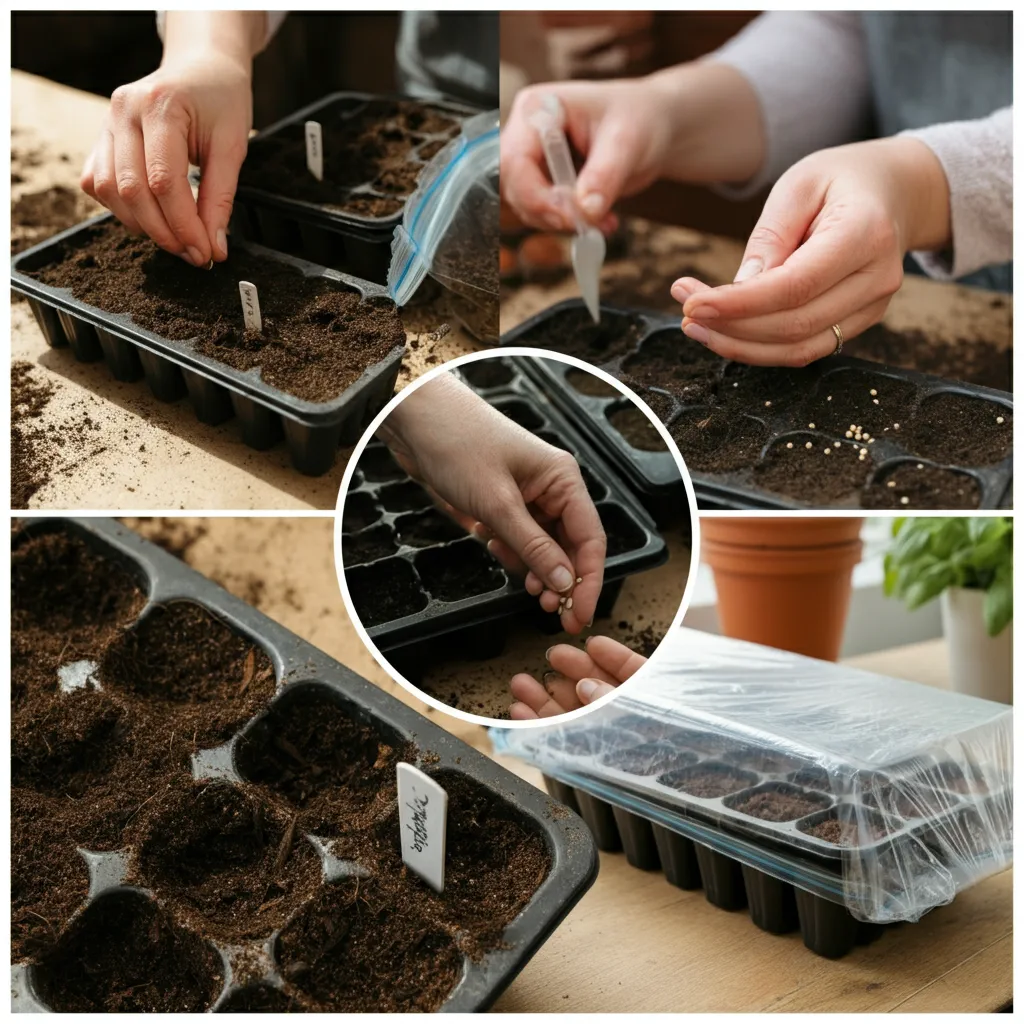
3. Sow Your Seeds
Now for the main event. Pepper seeds are small, so handle them carefully. Place one or two seeds on the surface of the compost in each pot or cell. Sowing thinly gives each seedling enough space and light to grow strong without competition. If you sow two and both germinate, you can simply snip out the weaker one later.
Once the seeds are in place, cover them with a very light layer of either more compost or vermiculite—about 5mm is plenty. Planting them too deep is a common mistake and can prevent them from germinating. The vermiculite layer is particularly useful as it helps maintain consistent moisture around the seed and reflects light, which can aid germination.
4. Label Everything
This step might seem trivial, but it is absolutely vital. It is incredibly easy to forget which variety you’ve sown where, especially if you’re growing several types of peppers. Use your labels to write the pepper variety and the date you sowed them clearly. This will help you track their progress and care for them appropriately as they grow.
5. Create a Greenhouse Effect
Pepper seeds need two things to germinate: warmth and humidity. A consistent temperature of around 20-25°C is ideal. To create this cosy environment, cover your pots with a clear plastic bag, secured with an elastic band, or place them inside a heated propagator. This traps moisture and warmth, mimicking a miniature greenhouse.
Place your covered pots in a warm place. A heated propagator is the gold standard, but a warm airing cupboard or a spot near a radiator will also work well. While they don't need light to germinate, a sunny windowsill can provide some warmth, but be mindful that temperatures can drop significantly at night. Check them every few days for signs of life.
From Seed to Seedling: The First Few Weeks

Patience is key during the germination phase. Depending on the variety and the conditions, you should see the first tiny green shoots emerging from the compost within 7 to 21 days. This is an incredibly exciting moment and marks the beginning of the next stage of care for your pepper seedlings.
As soon as the first seedlings appear, it's time to change their environment. Remove the plastic bag or propagator lid immediately. This increases air circulation and helps prevent "damping off," a common fungal disease that can cause seedlings to collapse at the base. From this point on, your seedlings' main requirement is light—and lots of it.
To prevent your seedlings from becoming "leggy"—tall, pale, and weak—they need as much direct light as possible. A south-facing windowsill is the best location in a typical UK home. If you don't have a bright enough spot, consider investing in a grow light. This will ensure your chilli plants grow stocky and strong. Rotate the pots every day to encourage even growth and stop them from leaning towards the light source.
Watering is also crucial during this stage. Keep the compost consistently moist but never soggy. Overwatering is one of the biggest dangers to young seedlings. Check the pots daily by touching the surface of the compost. If it feels dry, water them gently from below by placing the pots in a tray of water for 10-15 minutes, allowing the compost to soak up moisture through the drainage holes. This encourages roots to grow downwards and avoids wetting the delicate leaves and stems.
Potting On: Giving Your Plants Room to Grow
After a few weeks of careful nurturing on the windowsill, your pepper seedlings will have grown significantly. You'll notice they have developed their first set of "true leaves"—these are the second pair of leaves to appear, and they look like miniature versions of the adult plant's leaves. This is a sign that the seedling has established a small root system and is ready for its own, slightly larger home.
This process is called "potting on," and it's essential for providing your growing plants with more space and nutrients. Moving each seedling into its own individual pot prevents its roots from becoming constricted and allows it to grow into a strong, healthy plant.
To pot on, you'll need 9cm pots and some good quality multi-purpose compost. Fill the new pots with compost and make a hole in the centre with a pencil or dibber. Handle the seedling very gently, holding it by its leaves rather than its delicate stem, which can be easily bruised or broken. Carefully ease the seedling out of its original cell or pot, keeping the rootball intact as much as possible. Lower the seedling into the hole in the new pot, ensuring the base of the leaves is just above the compost surface. Gently firm the compost around the seedling to support it, and then give it a good watering to help it settle in.
Place your newly potted plants back in their bright, warm spot. They will continue to grow here for the next couple of months, ready for the next stage in late spring: hardening off and planting out into their final position.
Get Ready for a Spicy Summer
By taking a few hours in January to sow your pepper seeds, you set yourself up for a summer filled with flavour. That initial effort to get ahead of the season is the single best investment you can make for a bountiful harvest of homegrown peppers and chillies. From the first pop of green in the seed tray to the final, glossy red fruit, the journey of growing peppers is one of the most satisfying in the gardening calendar.
Remember the simple steps to success: sow your seeds in warmth, give the seedlings plenty of light, and pot them on as they grow to build strong, resilient plants. With these fundamentals in place, you are well on your way to a delicious crop.
Now is the time to choose your seeds and start your pepper-growing adventure. For more advice on the next stages, including how to harden off your plants and what to do when they start to flower, be sure to check out the other guides on our blog. Happy sowing!


Community Feedback