Sow Tomatos in January: A Guide for UK Gardeners
The UK January can feel like a long, grey month for gardeners. The days are short, the ground is often frozen solid, and the vibrant colours of summer feel like a distant dream. But what if you could get a head start on the season and bring a little bit of that summer promise indoors? Sowing Tomato's in January is a fantastic way to do just that, setting the stage for an earlier and more abundant harvest.
You might be thinking, "Isn't it far too early?" While it's true that tomato plants can't survive a January frost outdoors, starting them inside is a different story. With the right technique—sowing indoors for transplanting later—you can nurture strong, healthy seedlings that will be ready to thrive once the weather warms up. This simple act of rebellion against the winter gloom can lead to an impressively early crop.
This guide will walk you through everything you need to know. We'll cover the benefits of getting an early start, the tools you'll need for the job, a step-by-step guide to sowing your seeds, and a look at the best varieties to ensure your success.
Why Start Sowing Tomato's in January?

Getting your tomato seeds started while winter still has its grip might seem counterintuitive, but the rewards are well worth it. It’s a strategy used by seasoned gardeners to gain a significant advantage.
The Early Bird Gets the Tomato
The most compelling reason to start now is the promise of an earlier harvest. By giving your plants a longer growing season indoors, you can be picking ripe, juicy Tomato's weeks before gardeners who wait until spring. Imagine enjoying your first homegrown tomato of the year while others are still just planting out their seedlings.
Stronger, Healthier Plants
Giving your tomato seedlings a slow, steady start in a controlled indoor environment helps them develop robust root systems. When it's time to move them outside, these well-established plants are more resilient and better equipped to handle the challenges of the great outdoors, from temperature fluctuations to pests.
A Cure for the Winter Blues
Beyond the practical benefits, sowing seeds in January is a wonderfully therapeutic activity. It's a productive and hopeful way to connect with gardening during the darkest months. Watching tiny green shoots emerge is a powerful reminder that spring is on its way and offers a welcome dose of joy.
Your January Sowing Toolkit: What You'll Need

Gathering your equipment is the first step to success. You don't need much, but having the right tools makes the process smoother and more enjoyable.
- Seeds: The most important ingredient! Choose varieties that are well-suited for an early start in the UK climate. We’ll cover some top picks later on. Shop on Amazon
- Seed Trays or Small Pots: These will be the cosy nurseries for your baby plants. Modular trays with individual cells are ideal for keeping seedlings separate. Shop on Amazon
- High-Quality Seed Compost: Don't skimp on this. A fine, nutrient-rich seed starting mix is crucial for delicate new roots. It’s lighter than general potting soil, allowing seedlings to emerge easily. Shop on Amazon
- A Warm, Bright Spot: A sunny, south-facing windowsill is a must. If you don't have one, a grow light is a brilliant investment. For an extra boost, a heated propagator is an optional luxury that guarantees consistent warmth. Shop on Amazon
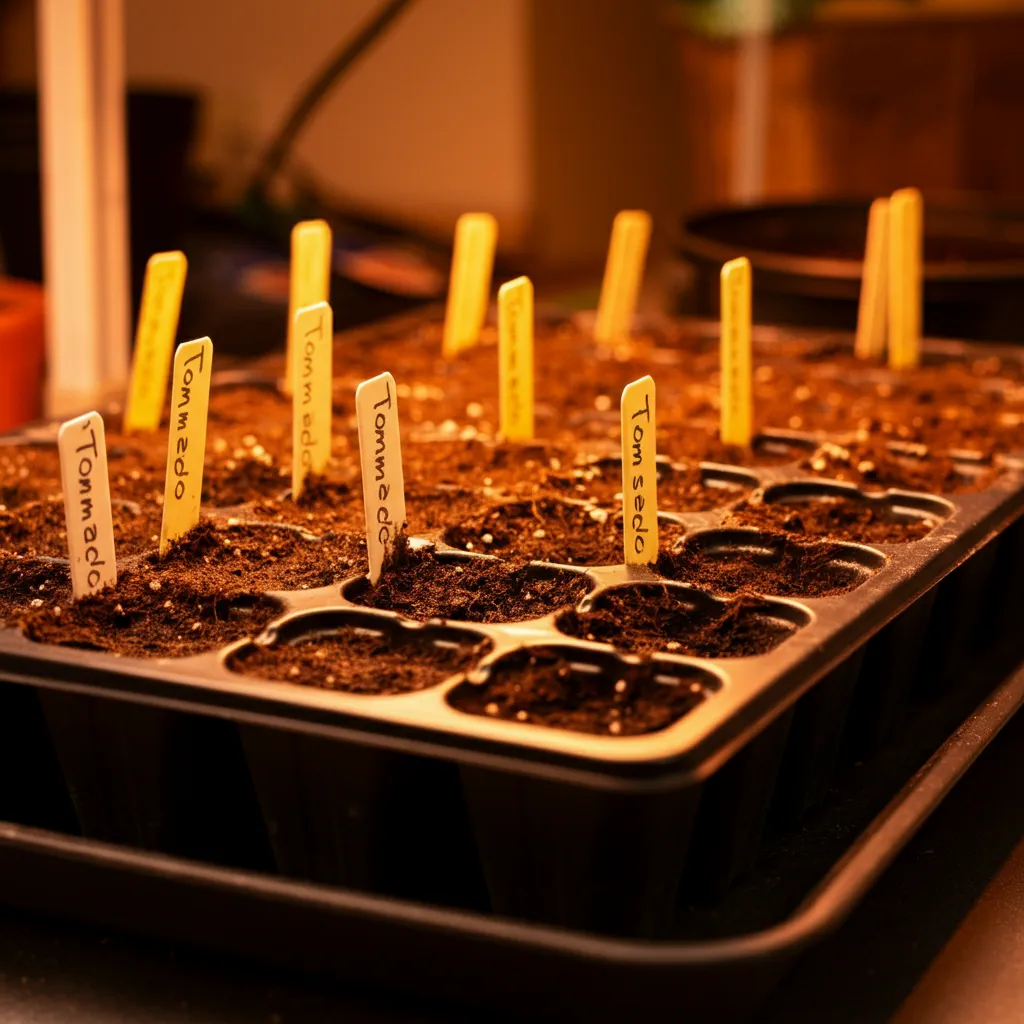
- Plant Labels: This is non-negotiable! You’ll need them so you don't mix up your 'Moneymakers' with your 'Gardeners' Delight'. A simple lolly stick and a permanent marker will do the job. Shop on Amazon
- A Fine Rose Watering Can or Mister: Gentle watering is key. A fine spray prevents the seeds from being washed away or buried too deep. Shop on Amazon
Step-by-Step Guide: How to Sow Your Tomato Seeds
With your toolkit ready, it's time for the fun part. Follow these simple steps for perfect germination.
1. Prepare the Trays: Fill your seed trays or pots with compost, gently firming it down with your fingers. Don't compact it too much—you want the roots to have room to breathe. Level the surface so it's flat and even.
Ideal Compost for Growing Tomato's from Seed:
- Seed-Starting Mix: Use a light, fine-textured seed-starting compost or mix. These are specifically designed for germination and contain the right balance of nutrients.
-
- Key Features:
-
- Free-draining to prevent waterlogging.
- Sterile to minimize the risk of diseases.
- Low in nutrients to avoid overwhelming young seedlings.
- Homemade Compost: If you prefer DIY, you can create your own seed-starting mix by combining:
-
- 1 part sieved garden compost.
- 1 part fine sand or perlite for drainage.
- 1 part coir or peat for moisture retention.
- Avoid Multi-Purpose Compost: While it can work in a pinch, multi-purpose compost is often too coarse and nutrient-rich for delicate seedlings.
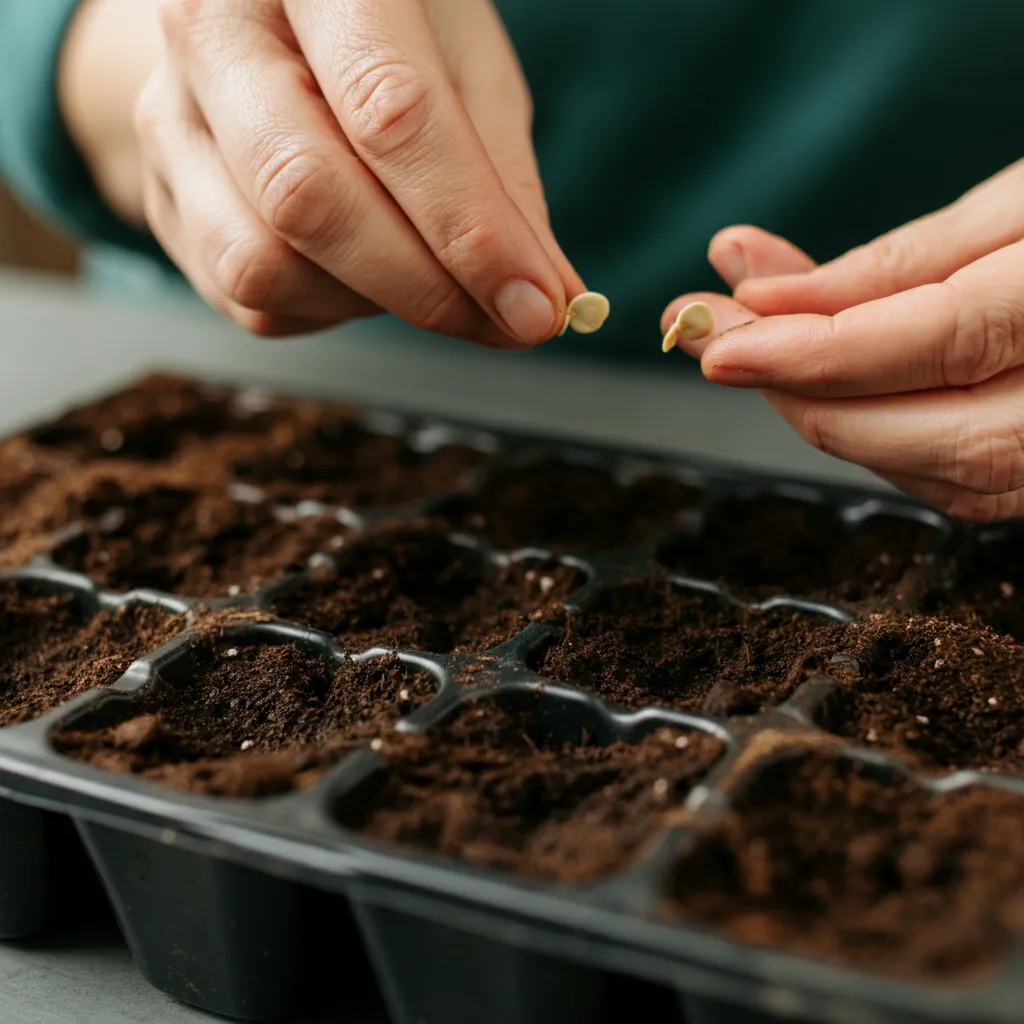
2. Sow with Care: Place two seeds per cell or small pot. This is your insurance policy in case one doesn't germinate. If both sprout, you can simply snip out the weaker one. Cover the seeds with a fine dusting of compost, about 3mm deep.
Tomato seeds can generally be sown directly from the packet into the soil without any special preparation. However, there are a few optional steps you can take to improve germination rates and give your seeds a head start:
Optional Preparations:
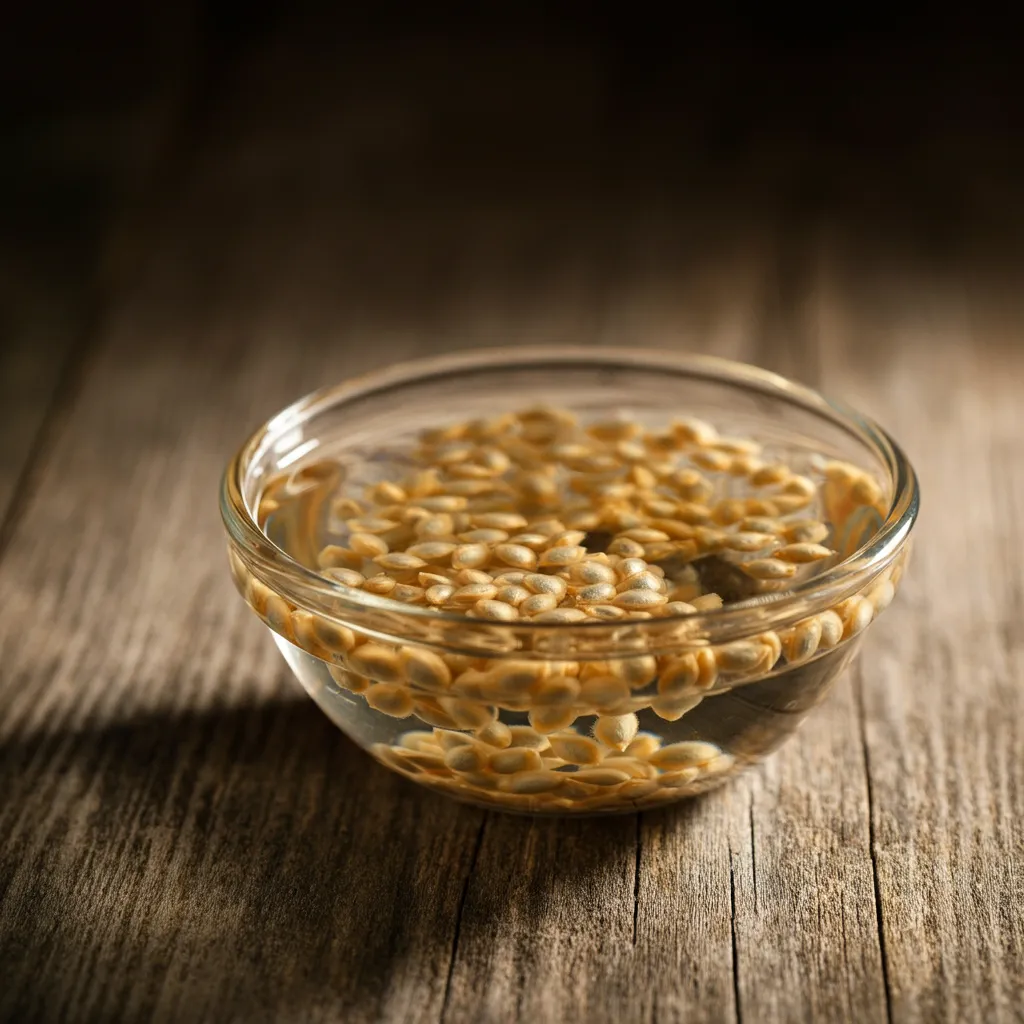
- Soaking Seeds: Soaking tomato seeds in warm water for a few hours before sowing can help soften the seed coat, making it easier for the seed to sprout. This is especially useful for older seeds or those with a tougher coat.
- Fermentation (for saved seeds): If you're using seeds saved from fresh Tomato's, it's a good idea to ferment them first. This process removes the gelatinous coating that can inhibit germination and reduces the risk of disease.
- Scarification (rarely needed): Lightly nicking or sanding the seed coat can help with germination, but this is usually unnecessary for tomato seeds.
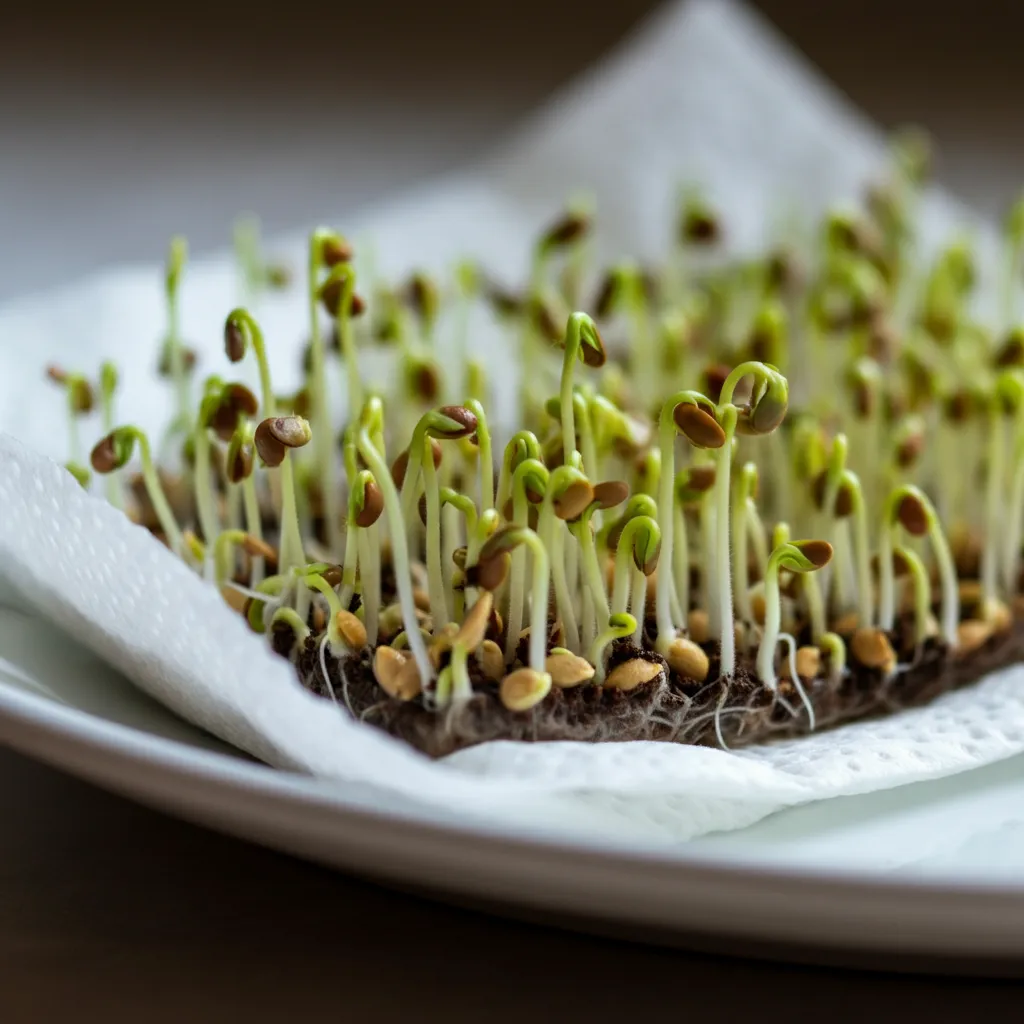
- Pre-sprouting: Some gardeners like to pre-sprout seeds by placing them on a damp paper towel in a warm spot until they start to germinate. This ensures you're planting viable seeds.
Direct Sowing:
If you're using fresh, high-quality seeds from a reputable source, you can skip these steps and sow them directly into moist compost or seed-starting mix. Just ensure the soil is warm (ideally around 21°C or 70°F) and kept consistently moist for optimal germination.
Would you like me to include this information in your guide or create an image to illustrate any of these steps?
3. Water Gently: Give them their first drink. Use a mister or a watering can with a fine rose to avoid dislodging the seeds. The goal is to make the compost damp, not waterlogged.
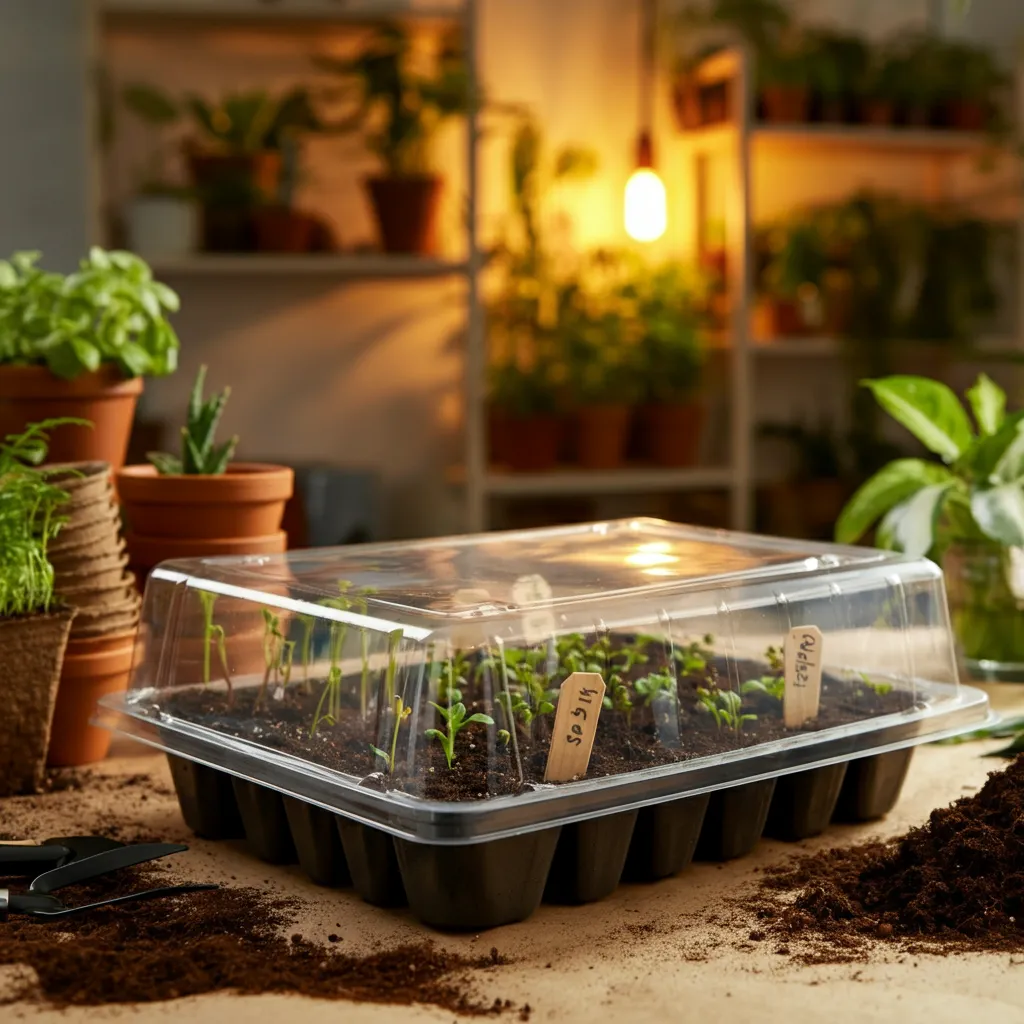
4. Create a Cosy Greenhouse: Cover the trays with a clear plastic lid or a piece of cling film. This simple trick locks in warmth and moisture, creating a mini-greenhouse environment that is perfect for germination.
5. Find the Perfect Spot: Place your trays on that warm, bright windowsill you've picked out. If you are using a heated propagator, set it to about 21°C (70°F) for optimal results. Now, all you have to do is wait for the magic to happen.


What's Next? From Sprout to Sturdy Seedling
The first few weeks are crucial for your young plants. Here’s what to look for and what to do next.
Germination Station
You should see the first signs of life within 7-14 days. As soon as the green shoots appear, remove the plastic cover or propagator lid. This improves air circulation and helps prevent a fungal disease known as "damping off," which can be fatal to seedlings.
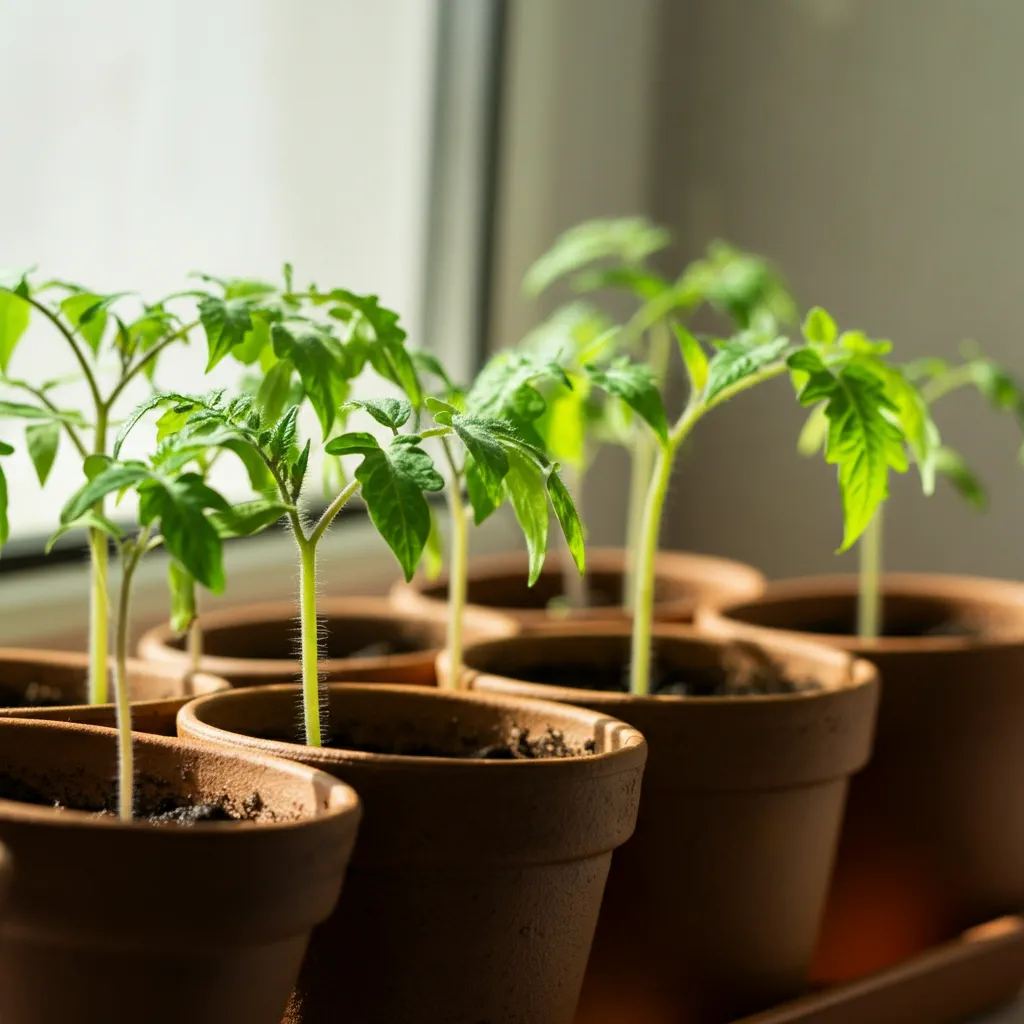
The First True Leaves
The first pair of leaves you see are the "seed leaves," or cotyledons. They provide the initial energy for the sprout. Shortly after, a second, different-looking pair of leaves will appear. These are the "true leaves," and they look like miniature versions of an adult tomato leaf. When these true leaves are well-developed, it's a sign the plant is establishing itself and ready for its own space.
Potting On
Once your tomato seedlings have their true leaves and are looking sturdy, they will need to be moved into slightly larger individual pots (a process called "potting on"). This gives their roots more room to grow and prevents them from becoming pot-bound. We’ll cover this in more detail in a future guide, but it's an essential step in raising strong plants.
Light is Life
Your seedlings need as much light as possible. If they don't get enough, they will stretch and become thin and 'leggy' as they strain towards the light source. To prevent this, place them in the brightest spot you have and turn them daily to ensure even growth on all sides.
Best Tomato Varieties for an Early Start
Choosing the right variety is vital for a successful early sowing in the UK. Look for types that are reliable performers in greenhouses or on a sunny patio.
- Indoor/Greenhouse Varieties: You can't go wrong with the classics. 'Gardener's Delight' is a beloved cherry tomato that produces trusses of incredibly sweet fruit. For a reliable standard-sized tomato, 'Alicante' is an excellent choice, known for its uniform fruit and good flavour.
- A Touch of the Exotic: If you want to try something a bit different, 'Tigerella' is a fantastic option. It produces beautiful red fruits with orange-yellow stripes and has a rich, tangy flavour. It’s a reliable grower that adds a bit of flair to your harvest.
Your Summer Harvest Starts Now

Sowing Tomato's in January is a deeply rewarding way to kickstart your gardening year and look forward to an impressive harvest. By starting early, you are nurturing stronger plants and setting yourself up for an earlier crop of delicious, homegrown Tomato's.
Don't let the January chill stop you. The promise of that first sun-warmed tomato, picked fresh from the vine in early summer, will be your delicious reward for a little effort now. So grab your seeds, get your hands dirty, and get sowing.
We'd love to see your progress! Share your journey with us in the comments below or on social media.


Community Feedback