The Magic of Hydrangea Propagation: Mastering the Art of Layering
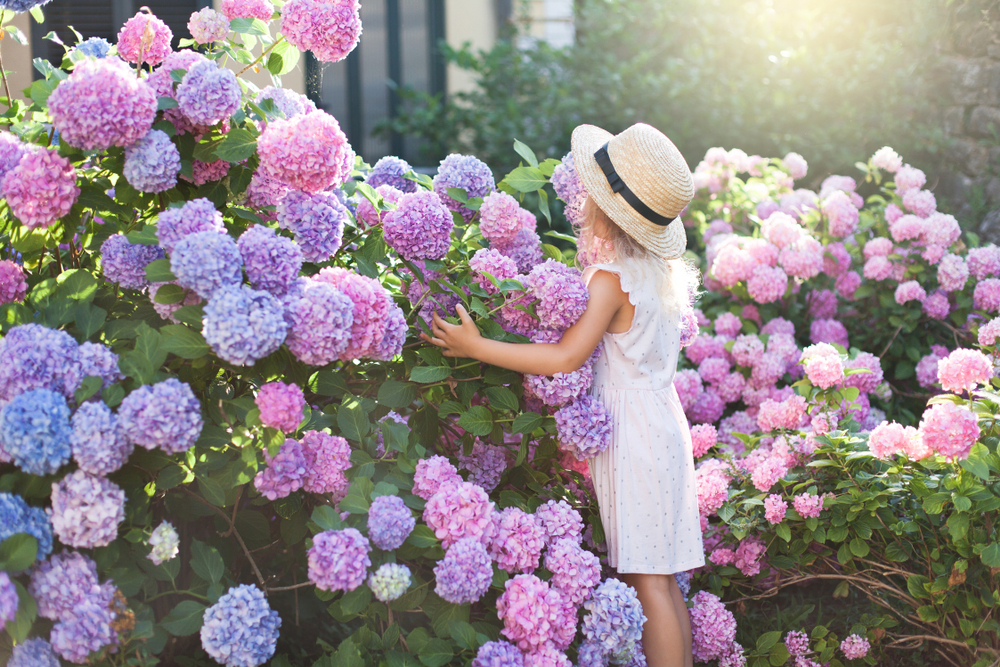
Ah, the hydrangea – a true jewel in the crown of British gardens, casting spells of enchantment with its voluminous blooms and captivating colours. Today, let's embark on a magical journey, delving into the ancient yet ever-so-intriguing art of propagating these beauties through layering. Layering is not just a propagation technique; it's a testament to nature's resilience and our ability to collaborate with it in creating more beauty. So, grab your gardening gloves, and let's get started on this enchanting adventure.
As you watch your newly propagated hydrangeas flourish, take a moment to bask in the glory of your handiwork. Through layering, you've not only multiplied the beauty in your garden but also deepened your connection with the natural world.
Understanding the Charm of Layering
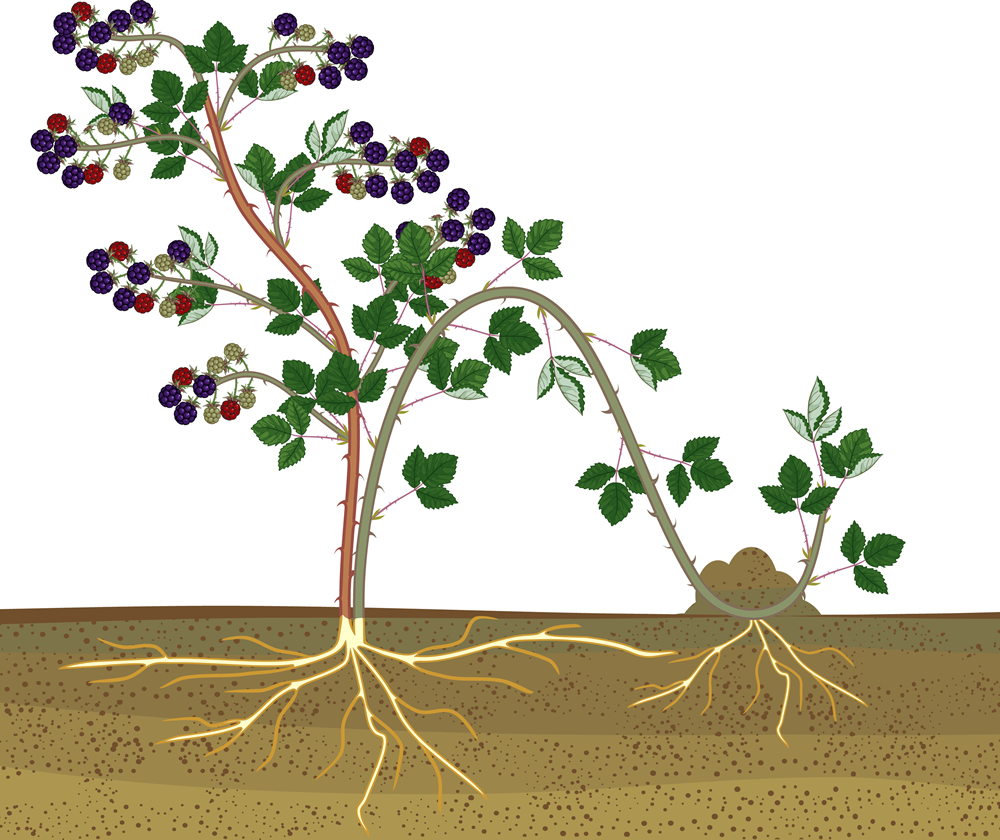
Layering is akin to nurturing a story that grows roots—literally! It’s a method that encourages a branch to form roots while still attached to the parent plant, eventually allowing it to live independently. This technique is particularly appealing for its simplicity and effectiveness, especially with plants like hydrangeas that take well to this form of propagation.
Step-by-Step Guide to Layering Your Hydrangea
- 1. Choose the Perfect Protagonist Venture into your garden and seek out a healthy, flexible branch of your hydrangea. You're looking for one that can easily reach the ground without breaking, ideally with a node (a bump on the stem where leaves, branches, and roots can grow) close to the middle.
- 2. Prepare the Stage Gently clear the area of the soil where the branch will lay. Think of it as preparing the stage for a grand performance. A soft, welcoming bed will encourage rooting.
- 3. Encore Performance: The Cut Here’s where the magic intensifies. Just below a node, make a small incision or notch on the branch. This slight wound is where the roots will eagerly sprout, drawn by the promise of soil.
- 4. Secure the Star of the Show Lay the wounded part of the branch into the soil, ensuring the node is in direct contact. Use a stone or a specialized garden staple to secure it in place. This moment is akin to pinning down a dream, ensuring it doesn't float away before taking root.
- 5. The Waiting Game Patience, dear gardener, is now your virtue. Cover the layered section with soil, leaving the end of the branch exposed, much like a bookmark peeking out, reminding you of the unfolding story beneath.
- 6. The Grand Finale: Severing Ties Over the months, check on your hydrangea's progress. When you notice new roots taking hold, it's time for the branch to leave the nest. With a clean cut, sever the newly rooted section from the mother plant. This act is not an end but a beautiful beginning.
- 7. Transplanting to the Main Stage Prepare a new home for your hydrangea offspring, rich in compost and promise. Transplant it carefully, and water it with the gentleness of morning dew.
Ensuring a Standing Ovation
- Water Wisdom: Keep the soil moist but not waterlogged to encourage growth without drowning the roots.
- Spotlight: Ensure your new hydrangea enjoys indirect light, much like the dappled sunlight through a forest canopy.
- Encore: Feel free to repeat this process with other branches. After all, every great performance deserves an encore.
The Curtain Call
As you watch your newly propagated hydrangeas flourish, take a moment to bask in the glory of your handiwork. Through layering, you've not only multiplied the beauty in your garden but also deepened your connection with the natural world. It’s a reminder that sometimes, the most beautiful things in life require patience, care, and a touch of magic.
In the grand theatre of gardening, you, dear friend, are both the director and the star. May your garden be a stage for countless breathtaking performances to come. Happy gardening!