How to Propagate Hydrangea (Hydrangea spp.): A Comprehensive Guide for UK Gardeners
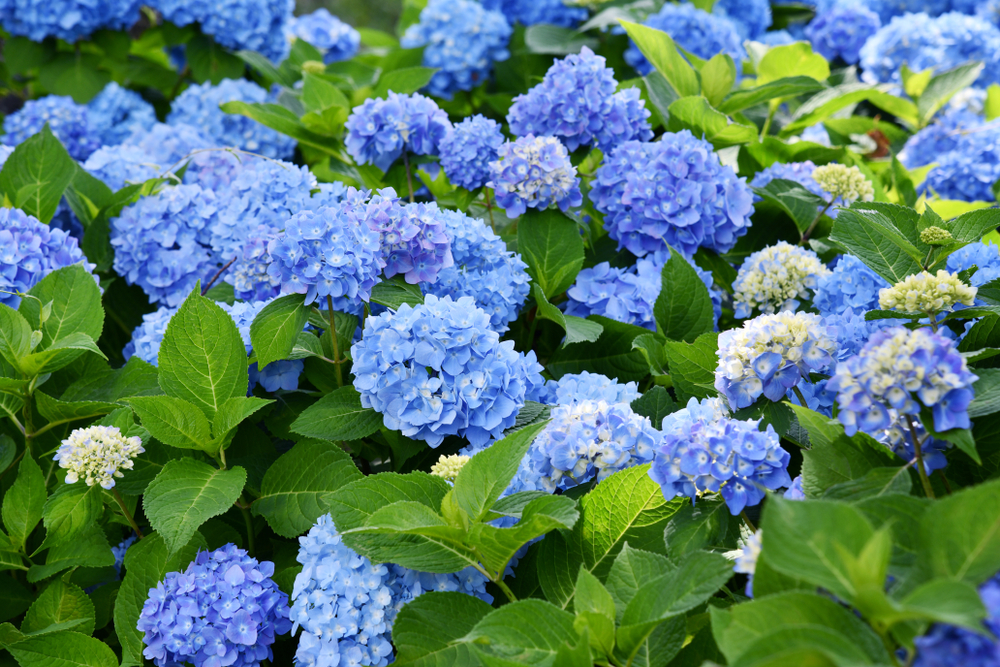
A quintessential feature of British gardens, renowned for its lush foliage and breathtaking blooms that range from the softest pastels to the most vibrant hues. Whether you're looking to add more of these beauties to your garden or share the joy with friends and family, propagating your own hydrangeas is a deeply rewarding endeavor. Let's dive into the enchanting world of hydrangea propagation, exploring two popular techniques: cuttings and layering. We'll focus on the cuttings method, perfect for UK gardeners looking to expand their hydrangea collection efficiently and effectively.
By following these steps and imbuing each action with care and enthusiasm, you're not just propagating hydrangeas—you're cultivating joy. Each new plant is a testament to your gardening prowess and a future beacon of beauty in your garden.
Cuttings vs. Layering: Choosing Your Path
Cuttings involve snipping a segment from a healthy hydrangea plant and encouraging it to root, giving life to a new plant. It's straightforward, quick, and ideal for creating several plants at once.
Layering, on the other hand, involves bending a low-growing branch to the ground, partially burying it, and waiting for it to root while still attached to the parent plant. It's a slower process but requires minimal intervention.
For gardeners eager to see results and keen on multiplying their hydrangea bounty, cuttings are the way to go. Let's embark on this propagation journey, shall we?
Step-by-Step Guide to Propagating Hydrangeas through Cuttings
When to Take Cuttings
Timing is everything! The best time to take hydrangea cuttings in the UK is from late spring to early summer. This period ensures that the cuttings benefit from warmer temperatures and longer daylight hours, crucial for rooting success.
Preparing Your Materials
You'll need:
- Sharp, clean pruning shears
- A pot or container with drainage holes
- Potting soil (a light, well-draining mix works wonders)
- Rooting hormone powder (optional but recommended)
- A clear plastic bag or a propagation dome
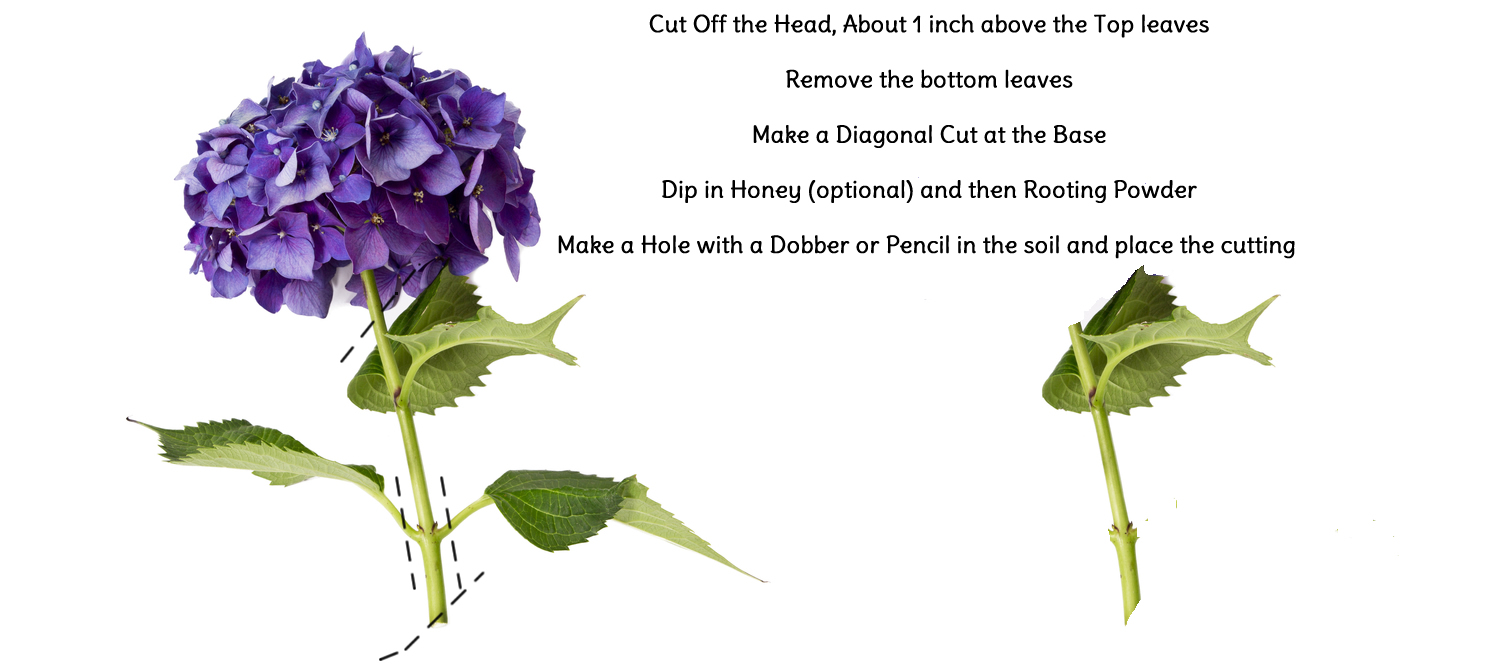
The Cutting Process
- Select Your Hero: Look for a healthy, non-flowering shoot from your hydrangea plant. This shoot should be lush, green, and full of life.
- Make the Cut: With your clean shears, cut a 4-6 inch segment just below a leaf node. The ideal cutting has at least 3 sets of leaves.
- Prep Your Cutting: Remove the lower leaves, leaving only the top two intact. If the remaining leaves are large, halve them to reduce moisture loss. Dip the cut end in rooting hormone to give your cutting a head start.
- Planting Time: Fill your pot with moist potting soil. Make a small hole in the center, gently place your cutting in, and firm the soil around it. For the best chance of success, you can plant multiple cuttings in a larger pot, ensuring they don't touch.
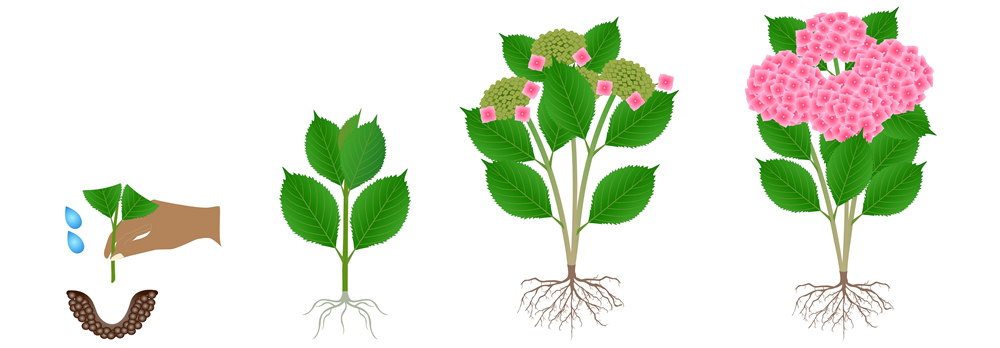
Caring for Your New Plant
- Moisture is Key: Keep the soil consistently moist but not waterlogged. Covering the pot with a plastic bag creates a mini greenhouse, trapping humidity and warmth.
- Light and Love: Place the pot in a bright spot out of direct sunlight. A north-facing windowsill or a spot with filtered light is perfect.
- Patience Pays Off: In about 4-6 weeks, your cuttings should begin to root. Gently tug on them; a slight resistance indicates rooting success.
Gradual Introduction to the Great Outdoors
Once rooted, it's time to acclimate your baby hydrangeas to outdoor conditions. Start by placing them outside in a shaded, sheltered spot for a few hours each day, gradually increasing their exposure over a week or two.
Ensuring Your Hydrangea Thrives
- Feeding: Once established, feed your hydrangea with a balanced, slow-release fertilizer to encourage growth.
- Watering: Hydrangeas love moisture. Ensure the soil remains moist, especially during dry spells.
- Pruning: As your hydrangea grows, prune lightly to encourage bushiness and more blooms.
- Pests and Diseases: Keep an eye out for common pests and treat promptly. Good airflow and proper spacing can prevent many diseases.
- Overwatering: Yellowing leaves may indicate too much love. Let the soil dry slightly between waterings.
By following these steps and imbuing each action with care and enthusiasm, you're not just propagating hydrangeas—you're cultivating joy. Each new plant is a testament to your gardening prowess and a future beacon of beauty in your garden. Happy propagating!