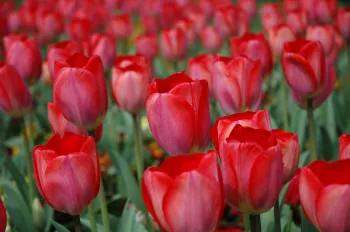
Tulip Queensday Tulipa
The Tulip is second only in popularity to that of the Lily. Who says so? YOU dear visitor. For there are around 1.2 million searches each month on the keyword Tulip (1.5 million if you amalgamate the Tulip and Tulipa searches). It seems that you are intent upon planting tulip bulbs
Against that number, we have searches totalling 2.7 million for the term Lilies. 'Lily' is even greater with around 3.2 million searches each month - but this will include many pages which are not about the garden Lily, but of songs, books and names.
Enough to say now, that the Tulip is still a very popular garden bulb. Coincidence maybe, that it is of the same family as the Lily - Liliaceae.
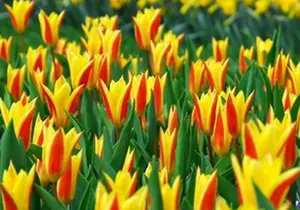
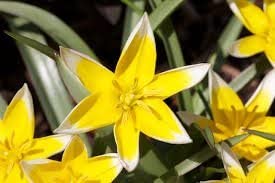
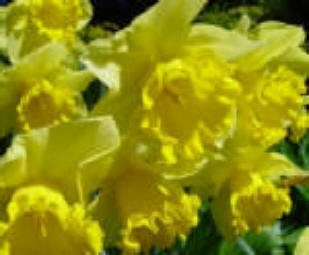
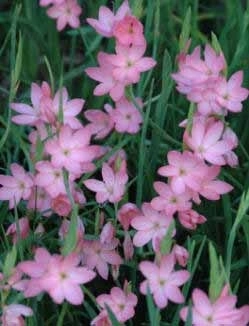
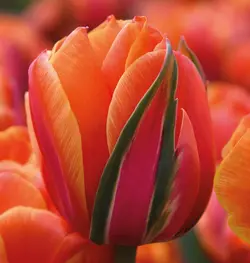
When you consider the huge range of colours within the Tulip group, from the most flamboyant pinks to the deepest red; the palest of yellows (Cream or white if you must) to the richest gold; and the most subtle lilac through to deep blue or purple. Then you can start to appreciate why this is such a much planted bulb - especially in Europe where planting tulip bulbs is more popular than our beloved daffodils..
The truly black tulip still evades hybridisation - even if there are tulip names that suggest otherwise - 'Queen of the Night' for instance.
It is normal in UK gardens to see the main flush of tulips in May - after the daffodils have finished flowering. Whilst the daffodils are the true sign of spring, tulips in flower are the first real sign that summer is indeed just around the corner.