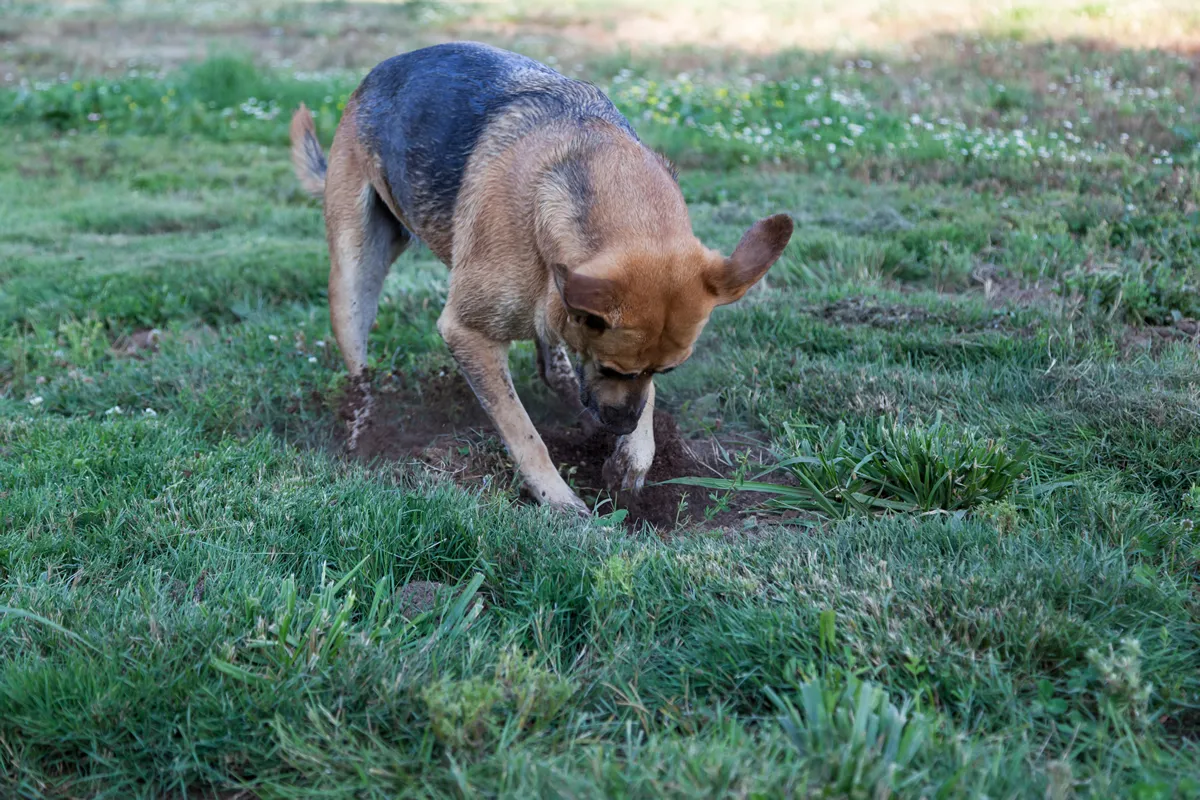
A large dog aggressively digs a hole in a green yard in her search for a gofer.
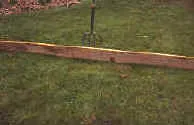
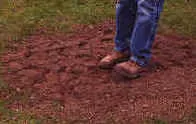
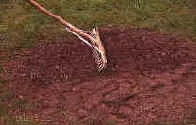
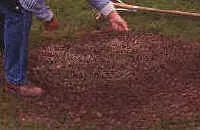
Sinking of the lawn can also be as a result of animal actions - not least moles or even ants burrowing under the lawn. In both cases, soil is removed. As in the case of moles, the soil is burrowed away to make tunnels, and deposited on the surface in the form of molehills. In the case of ants - to a lesser extent, the soil is bought up to the surface to form ant hills - thereby making room for the ants nest underground.
Venture beneath the surface of your perfectly manicured lawn, and you'll discover a bustling world teeming with activity. This hidden realm, filled with animals, mammals, and insects, plays a pivotal role in the health and appearance of our gardens. Understanding the underground interactions can transform the way we view and care for our lawns.
The Earthworms: Nature's Tillers
Let's start with a creature often hailed as a gardener's best friend: the earthworm. These industrious little architects tunnel through the soil, creating intricate networks of passages. These tunnels are not just marvels of natural engineering; they are crucial for aeration, allowing air and water to flow more freely through the soil. This process helps roots breathe and grow stronger, ultimately leading to a healthier, more resilient lawn. However, the very action that benefits the soil also leads to the creation of small mounds on the surface, which can disrupt the flatness of your lawn.
The Moles: The Unseen Sculptors
Now, imagine a mole, the elusive sculptor of the underground, in its relentless pursuit of worms and other tasty morsels. In doing so, moles excavate soil and push it upwards, creating characteristic molehills. While moles are a sign of a healthy ecosystem beneath your lawn, their earthworks can be a headache for gardeners striving for a pristine, flat lawn. These raised areas can lead to uneven growth patterns, as the grass atop molehills may become more susceptible to drying out or burning in the sun.

European mole crawling out of molehill above ground, showing strong front feet used for digging underground tunnels
Beetles and Grubs: The Root of the Matter
Beneath the green, a drama unfolds as beetle larvae, commonly known as grubs, make their home in the soil. These grubs have a voracious appetite for grassroots, gnawing away at the very foundation of your lawn. While invisible from above, their feasting can have devastating effects, leading to yellow, patchy, and weakened areas where the grass is easily uprooted. The presence of grubs can also attract other wildlife, such as birds and badgers, turning your lawn into a dining ground as they dig for a grub feast.
Ants and Their Homes
Picture this: a sunny day, a gentle breeze, and you're out enjoying the verdant expanse of your lawn. But as you look closer, you notice small mounds of soil disrupting the smooth green canvas. These are the works of one of nature's most industrious creatures – the ant. Ants and their nests play a fascinating role in the ecosystem beneath our lawns, with impacts that are both beneficial and challenging for gardeners.
The Benevolent Builders
Ants are remarkable architects, constructing intricate networks of tunnels underground. In doing so, they inadvertently take on the role of miniature gardeners. Their tunnels aerate the soil, providing vital oxygen to plant roots. This process also improves water drainage, preventing the waterlogging that can be detrimental to grass health. Furthermore, ants contribute to nutrient cycling, breaking down organic matter and enriching the soil. Thus, their unseen labor can create a more hospitable environment for a lush lawn to thrive.
The Challenge of the Mound
However, there's another side to this story. The very activity that benefits the soil structure can lead to the formation of small soil mounds on the surface – the visible signs of ant nests. These mounds can disrupt the uniformity of your lawn, creating irregularities in the landscape. When mown over, the soil from these mounds can smother the grass, leading to patches where the lawn struggles to grow. Additionally, large ant populations might indicate an overly dry soil condition, suggesting a need for improved lawn hydration practices.
Coexisting with Our Six-legged Gardeners
Managing the presence of ants and their nests in your lawn is all about balance. Often, a healthy and diverse garden ecosystem can keep ant populations in check. Encouraging natural predators like birds can help manage ant numbers. If ant mounds become too disruptive, gently redistributing the soil from the mounds during damp weather can minimize their impact without harming the colony. It's also beneficial to maintain a well-hydrated, well-fed lawn, as healthy grass is more resilient to the effects of ant activities.
In essence, ants are much more than picnic invaders; they are tiny engineers contributing to the health of our gardens in unseen ways. By understanding their role and managing our lawns with care and knowledge, we can appreciate the complexity of life beneath our feet and enjoy a healthier, vibrant outdoor space. Remember, gardening is not just about tending to what we see above ground but also about respecting and fostering the vast, interconnected web of life that makes our green spaces flourish.
The Solution Lies Beneath
Fear not, for understanding these underground dynamics empowers us to take action. Managing the population of grubs through natural predators or eco-friendly products can protect your lawn's roots. Encouraging biodiversity ensures a balanced ecosystem, where each creature plays its part without overrun. Aerating your lawn can mimic the beneficial effects of earthworm tunnels, promoting healthy growth without the unwanted mounds.
In the grand tapestry of your garden, every thread—from the smallest insect to the most diligent mammal—plays a vital role. By appreciating and managing the delicate balance of underground activity, you can maintain a vibrant, healthy lawn that thrives year-round. Remember, the key to a beautiful garden lies not just in what we see above ground but in understanding and nurturing the hidden life beneath.